
Help center > Scheduling > Appointment actions
Appointment actions
- Scheduling a new client appointment
- Creating a repeating appointment
- Editing an appointment
- Deleting an appointment
- Appointment statuses (show, canceled, late canceled)
- Creating a calendar event
Scheduling a new client appointment
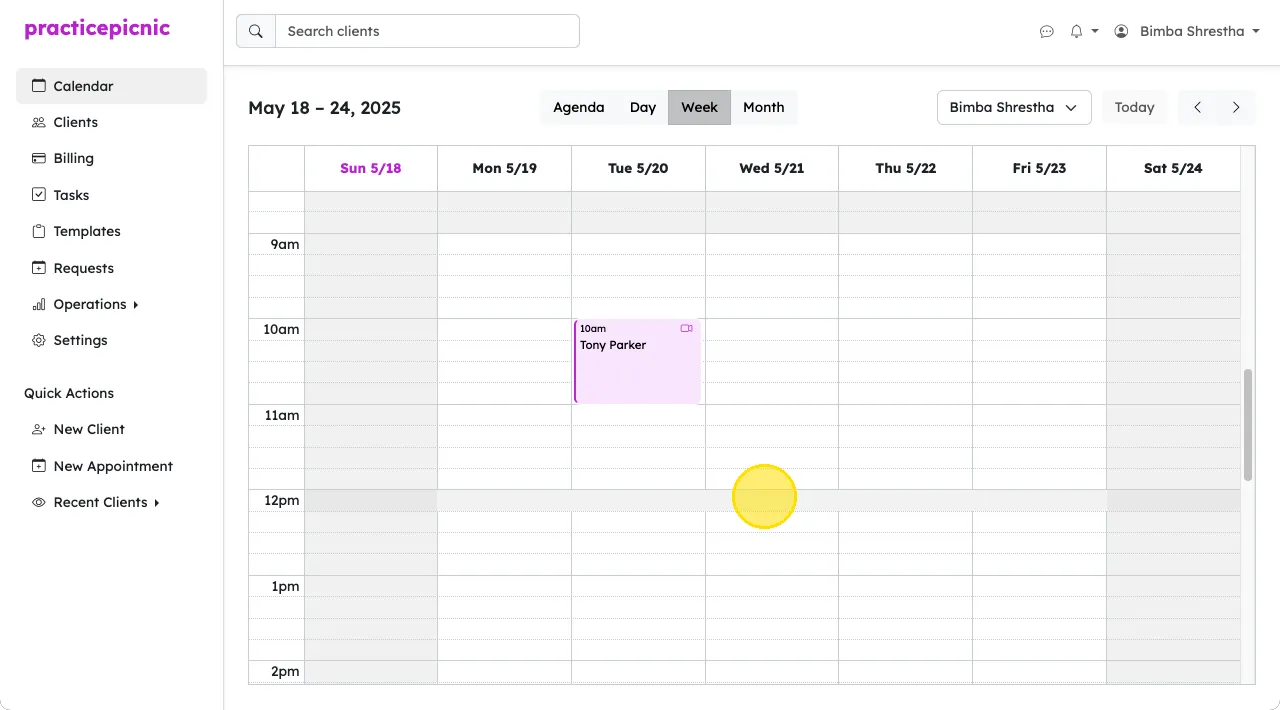
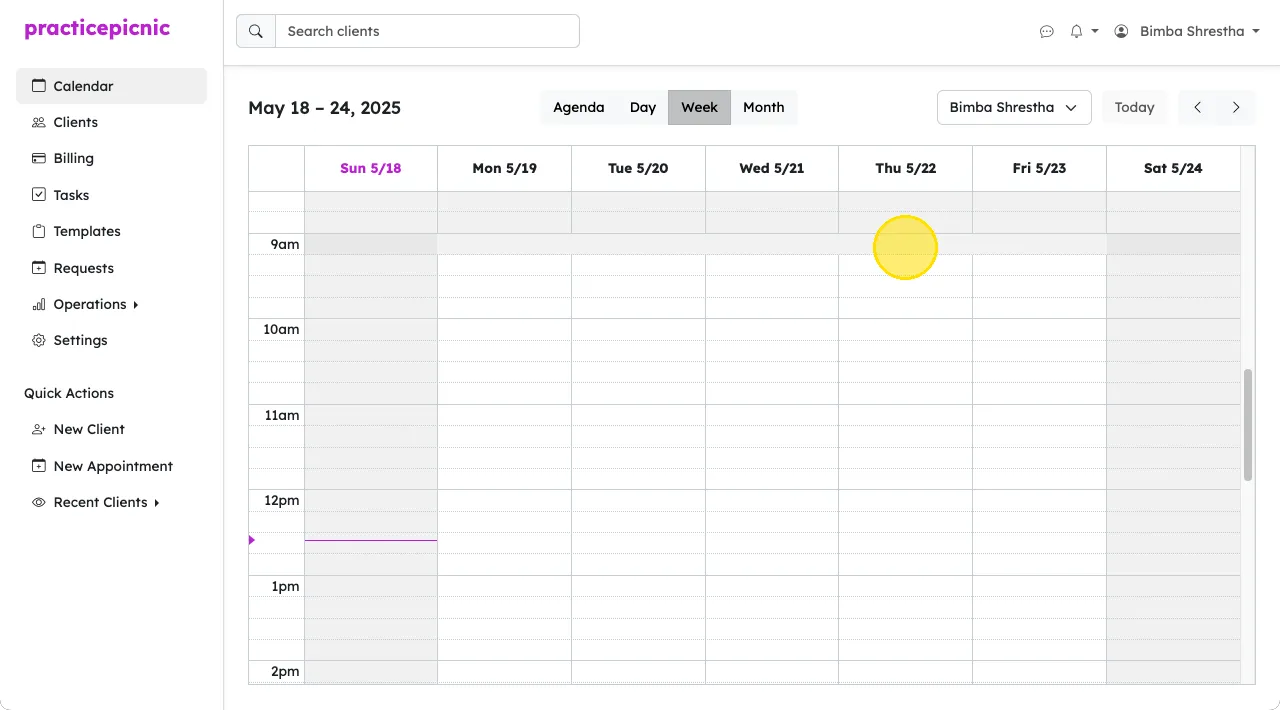
You can create a new appointment simply by clicking on the date and time on the calendar when you want your appointment.
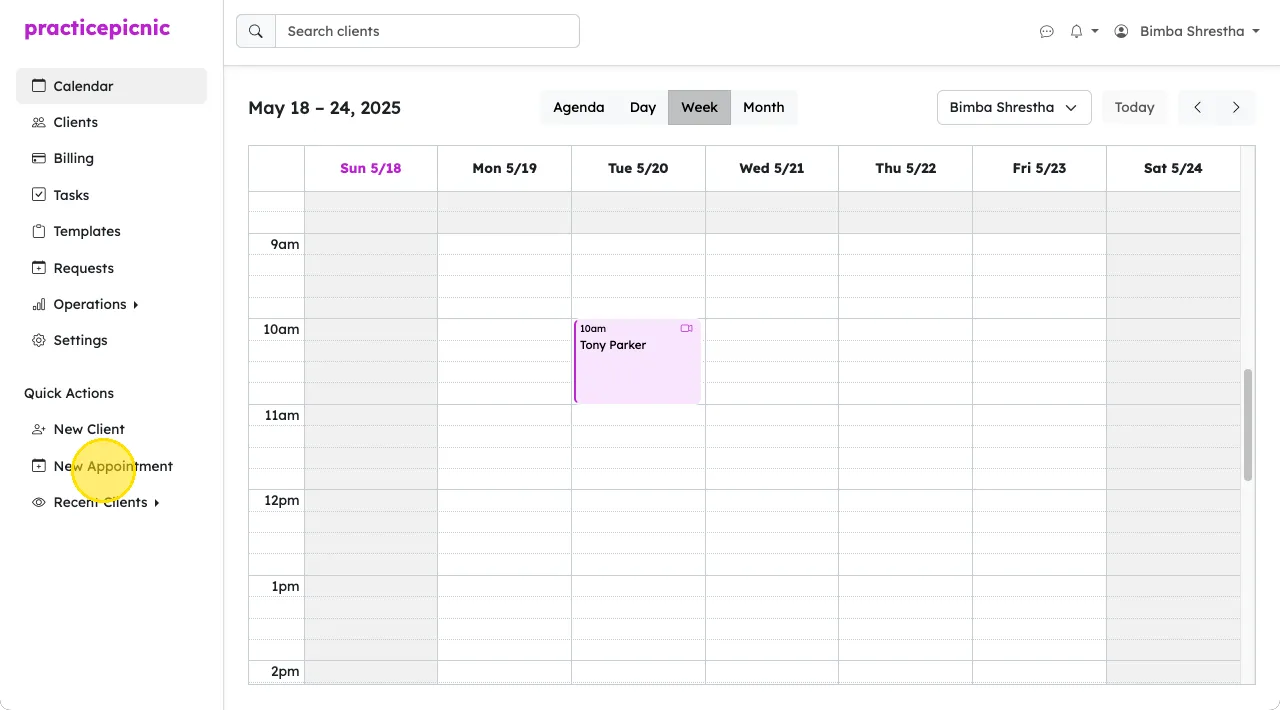
You can also click the New Appointment button from the sidebar.
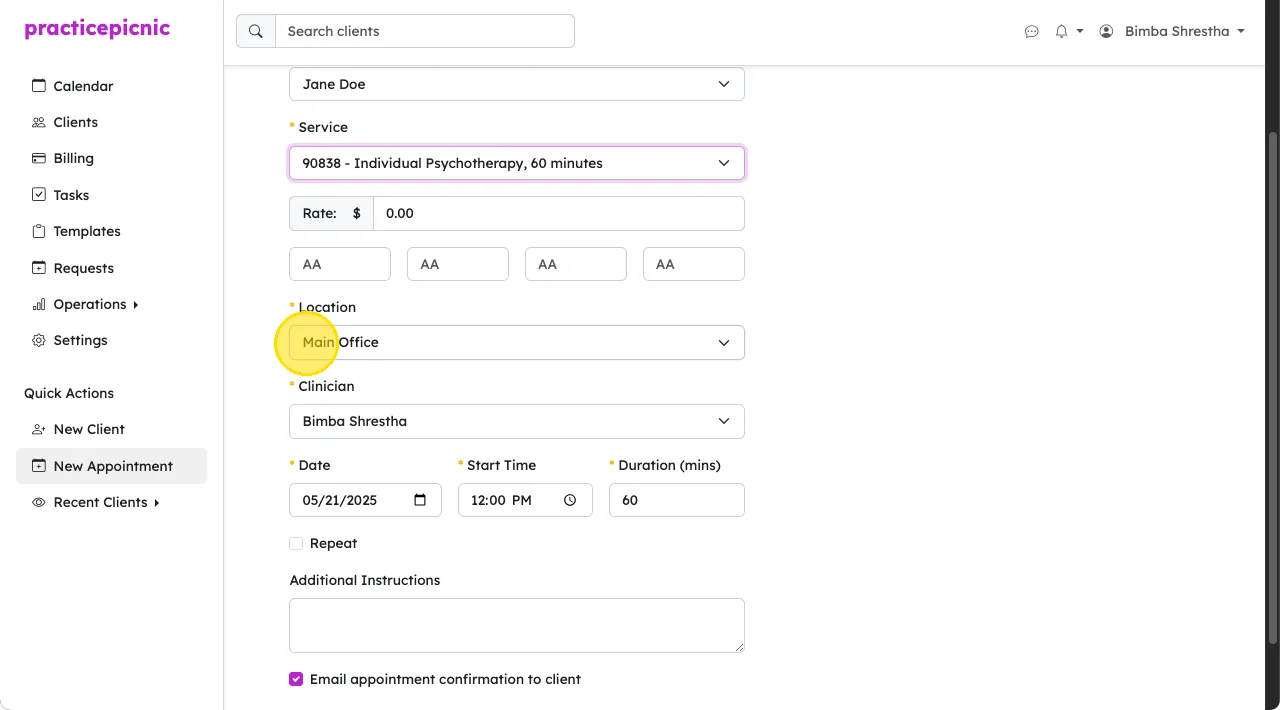
On the new appointment page, select the client you'd like to create the appointment for from the dropdown. Clients are ordered alphabetically by last name.
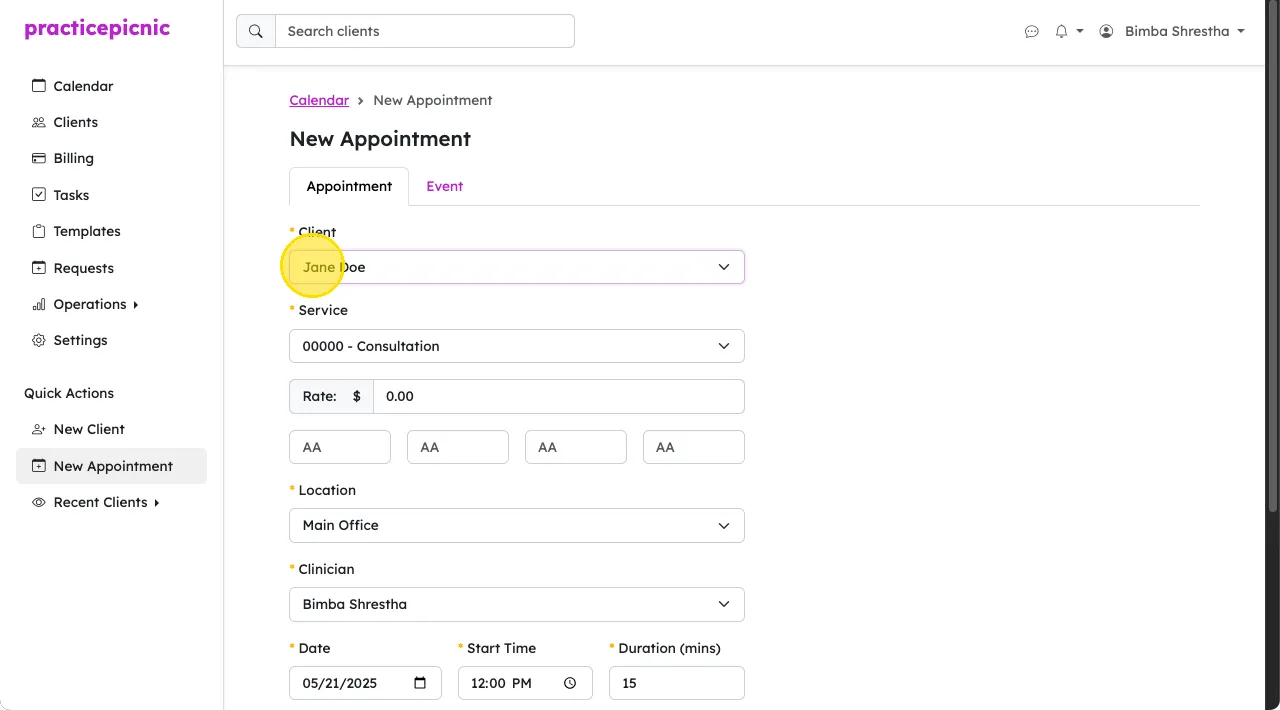
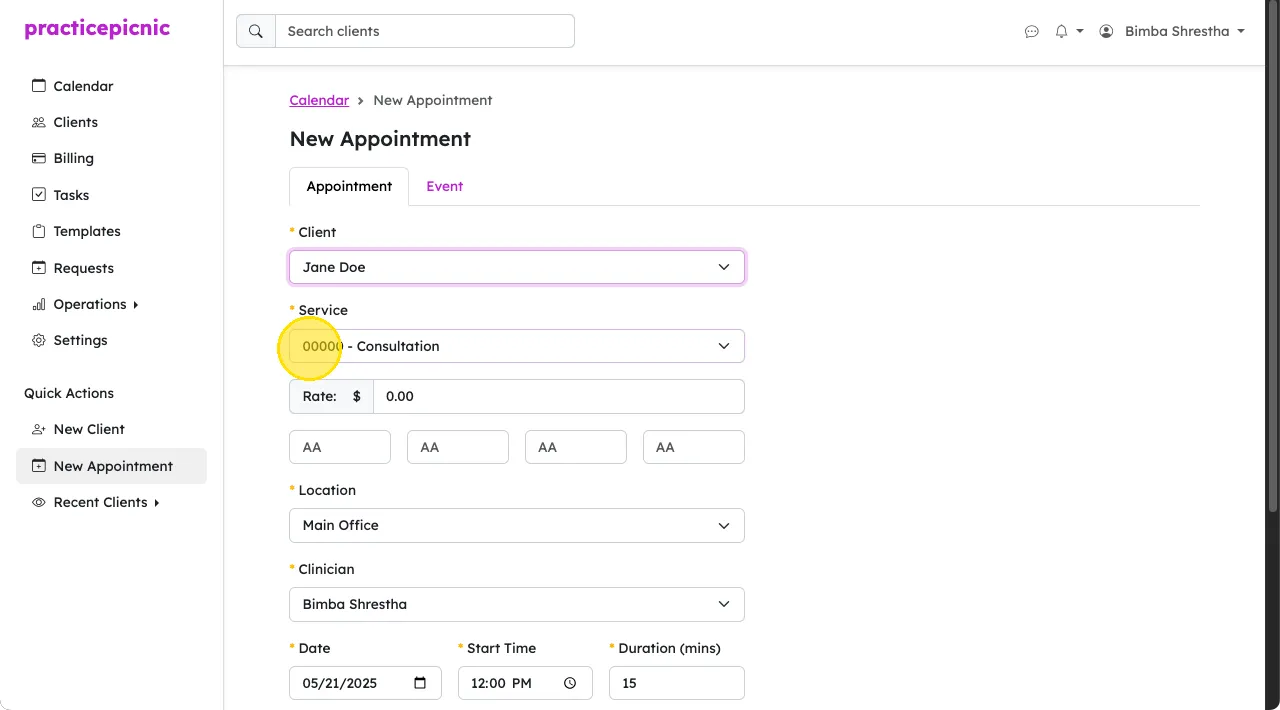
Select the type of service for the appointment from the dropdown. Once you select a service, the rate will auto-fill with a rate if configured to do so. The rate will auto-fill based on the following order:
- The client-specific rate for this service
- The clinician's rate for this service (if no client-specific rate is set)
- The standard rate for the service in practice settings (if neither of the above is set)
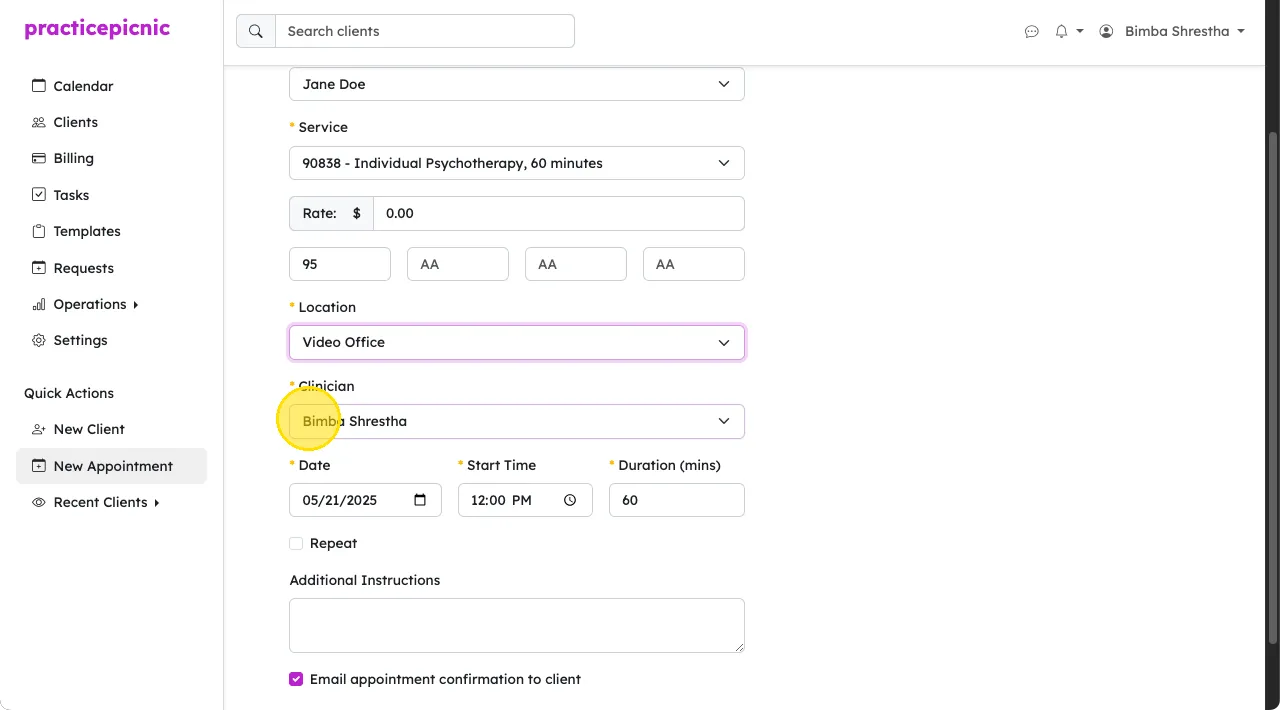
Select the location of the appointment from the location dropdown. If this is a telehealth appointment, select the video office as the location. If the video office is selected, the insurance modifier will auto-fill with 95.
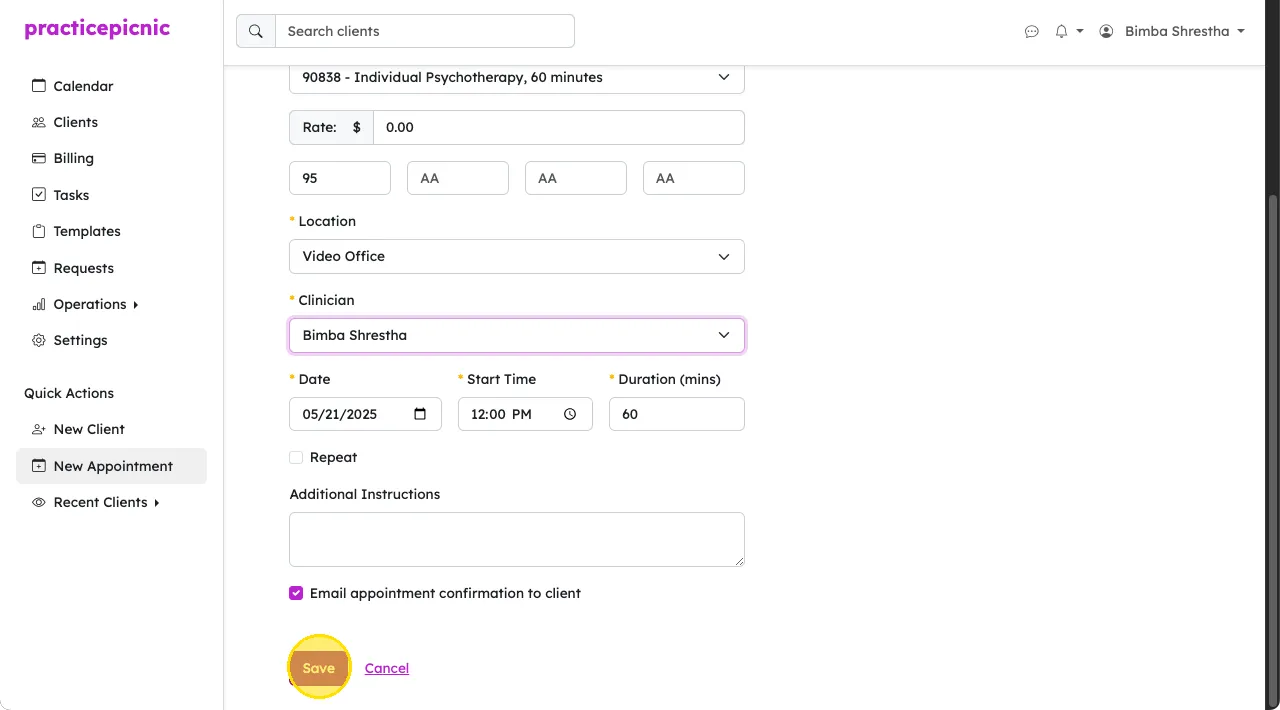
Select the clinician for this appointment. You may not see this dropdown if you don't have the required permissions.
Set the start date, time and appointment duration. The appointment duration will auto-fill from the service type but you can override it here if needed. Click Save to create your new appointment.
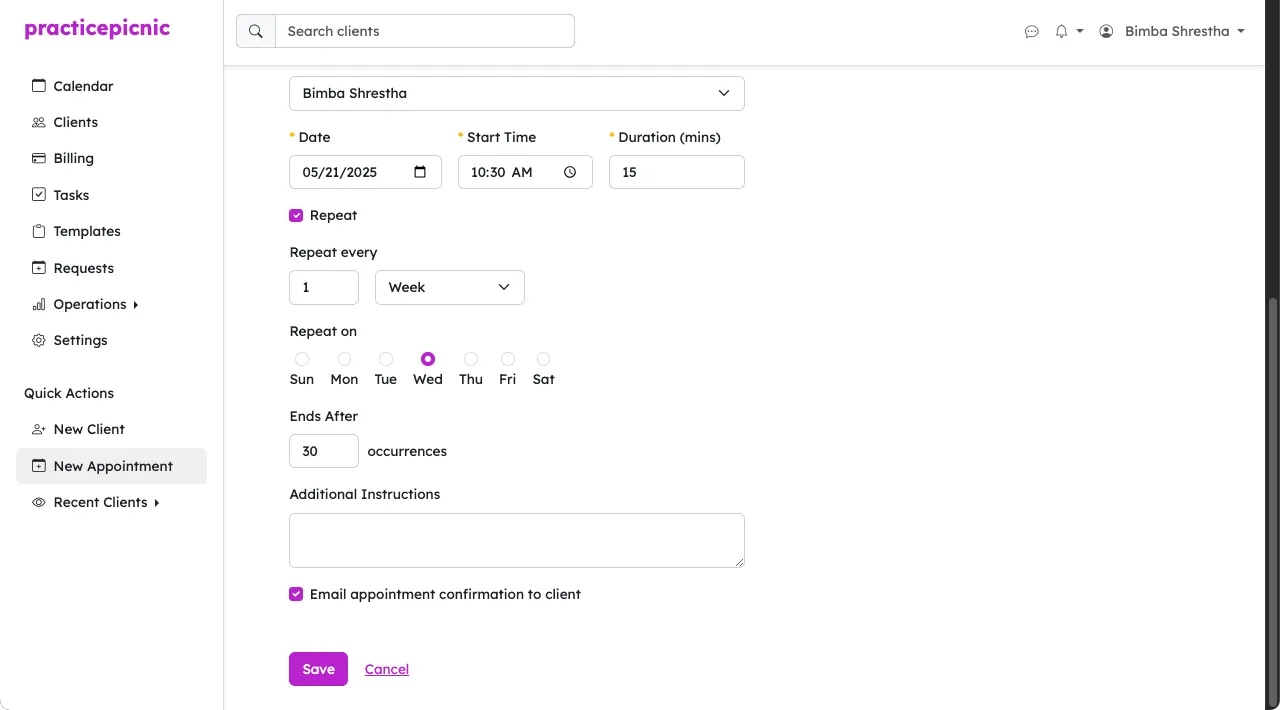
Creating a repeating appointment
To create a repeating appointment, check the box next to Repeat from the new appointment page. Choose how often the appointment repeats, when it repeats, and after how many appointments the repeating series will end.
Editing an appointment
To edit an existing appointment, click on the appointment from the calendar. This will open the appointment page where you can edit the details you'd like. Click Save once you're done making your changes.

If the appointment is a repeating appointment, the system will ask you if you'd like to make changes to just the current appointment or the entire series.
You can also drag and drop the appointment on the appointment page to reschedule it or update the duration.
Deleting an appointment
To delete an appointment, go to the appointment's page by clicking on it from the calendar. Then, click on the Delete button on the bottom right. Click Delete again when the confirmation dialog pops up.
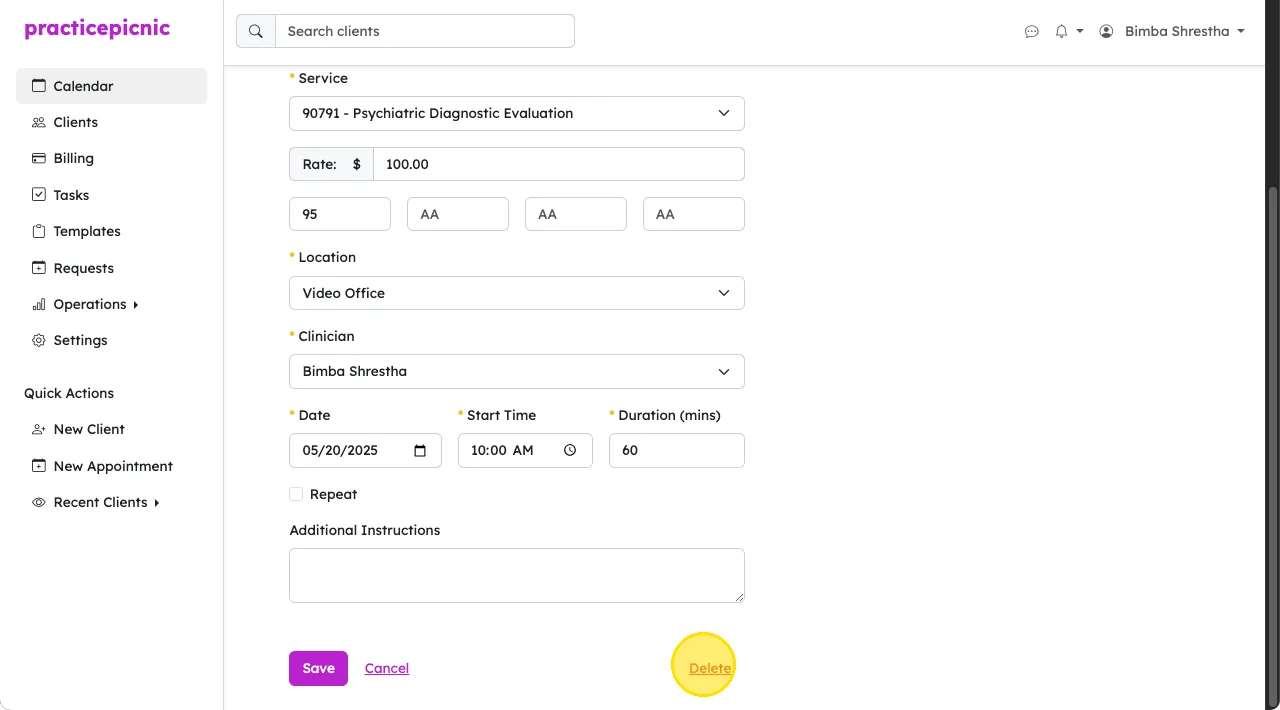
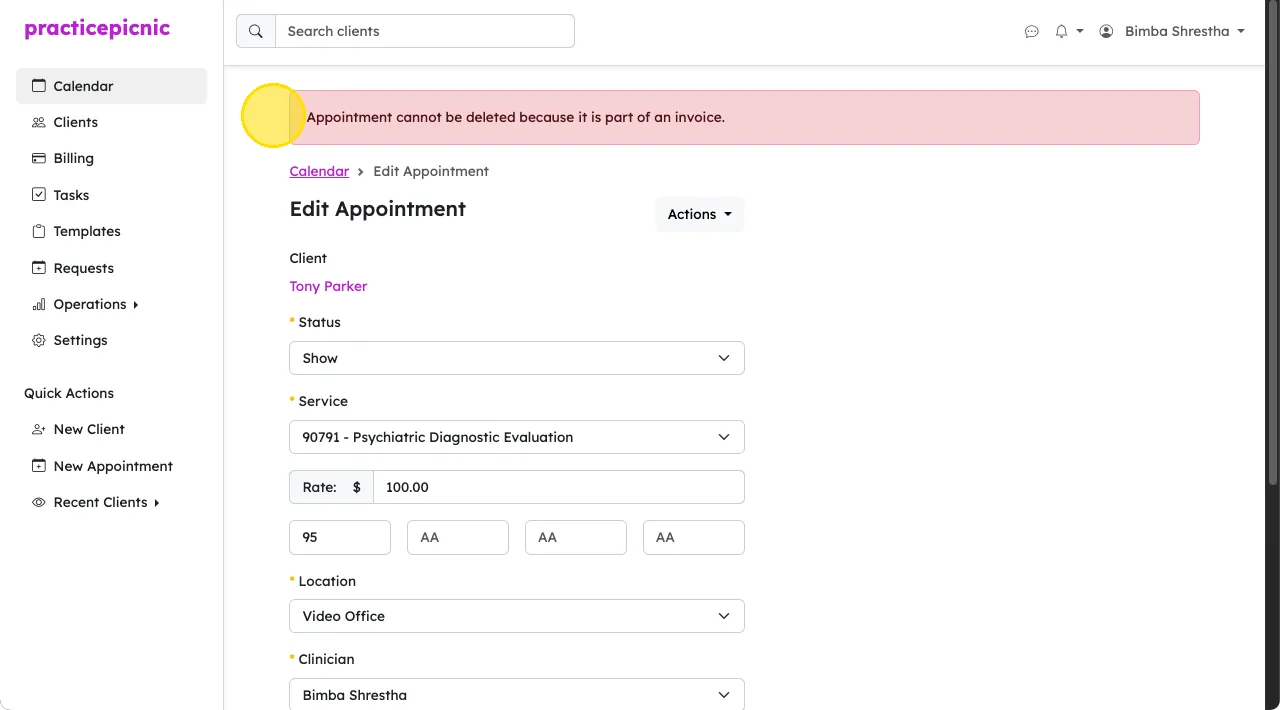
The system will not let you delete an appointment that has an invoice attached to it. To delete an appointment with an invoice, you must first delete the invoice.
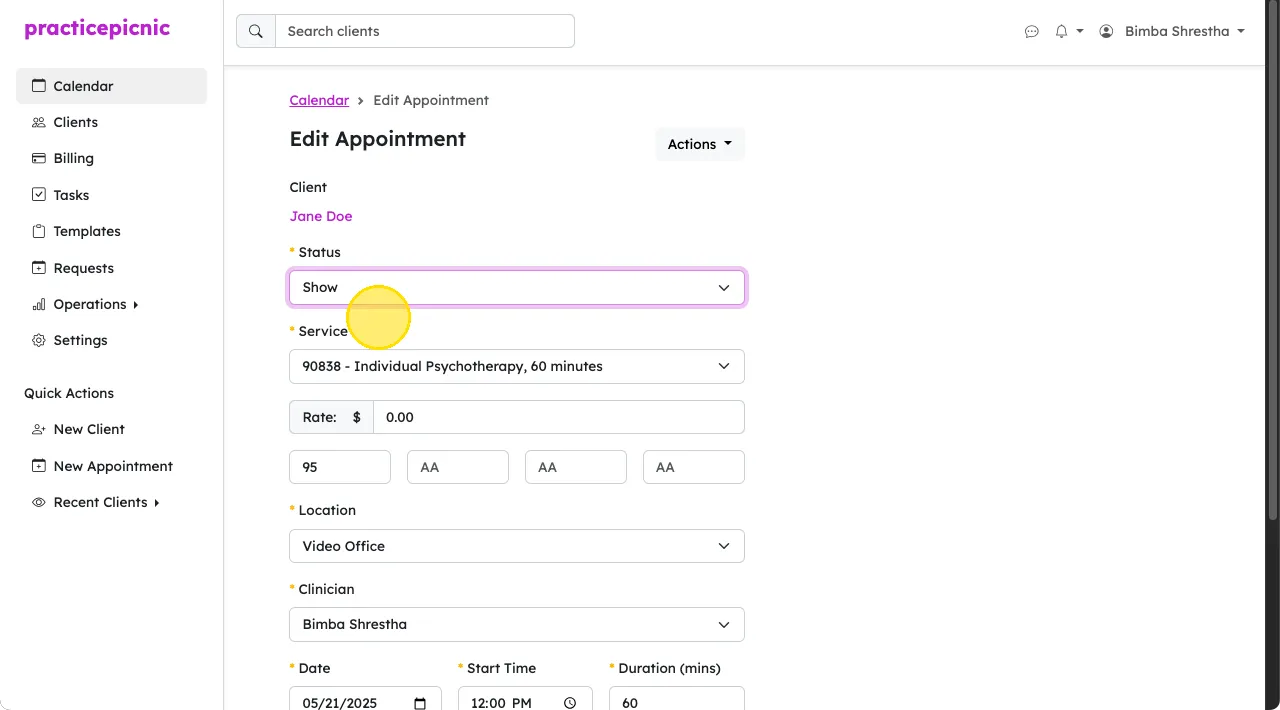
Appointment statuses (show, canceled, late canceled)
To mark an appointment as canceled, update the status of the appointment. By default, appointment statuses are set to Show, but you can update them to the following:
- Show: Client attended the session
- Canceled: Session was canceled on time, so no late fee will be applied
- Late Canceled: Session was canceled after the cutoff, so it will still be charged according to the practice's policy
Creating a calendar event
To create a regular, non-session calendar event (eg: dentist appointment), click on a date and time in the calendar.
Click on the Event tab, fill in your event's details and then click Save. You can create repeating events by checking the box next to Repeat.
