Help center > Intake > Paperless intake
Paperless intake
- Sending forms to clients
- Default form templates
- Special forms
- Customizing forms and consents
- eSignatures
Sending forms to clients
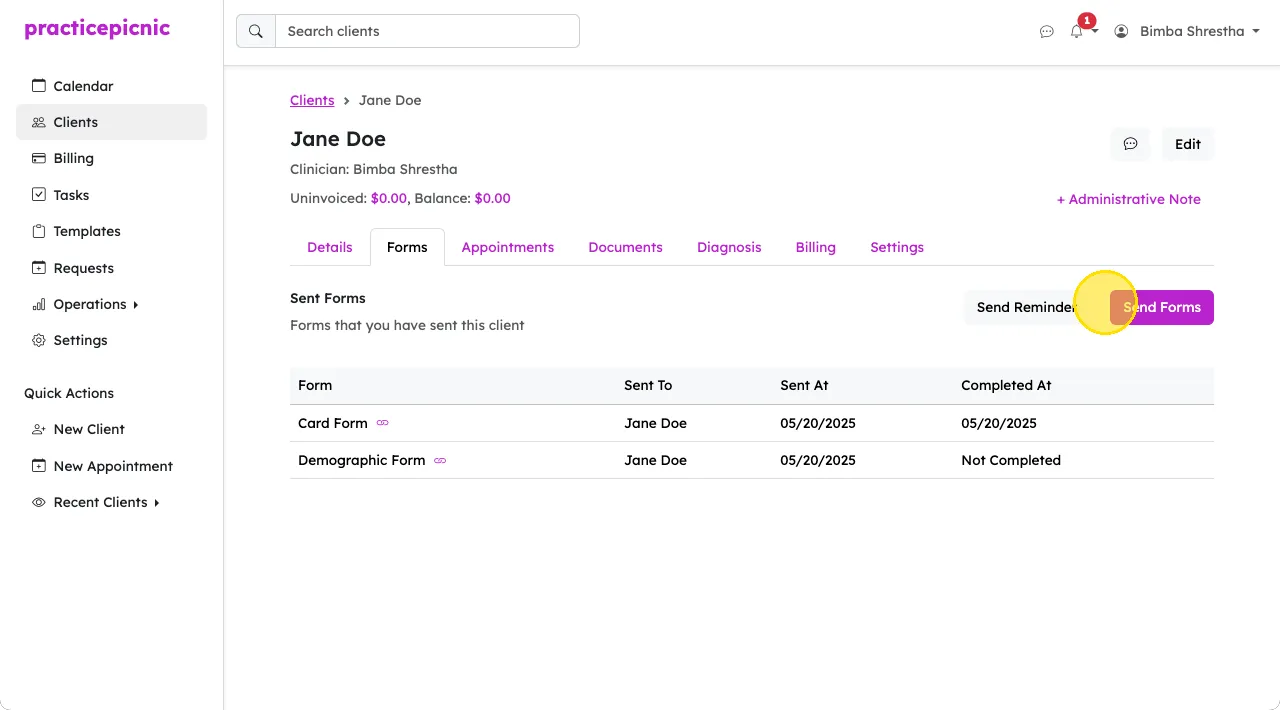
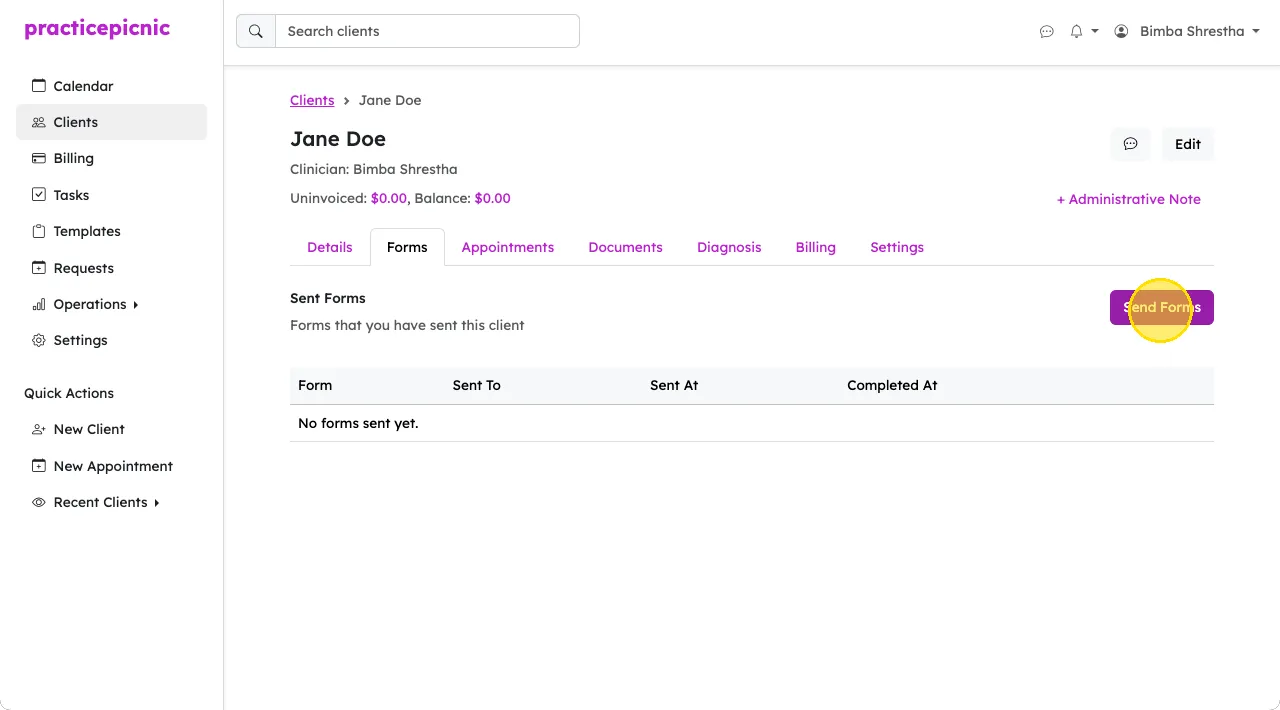
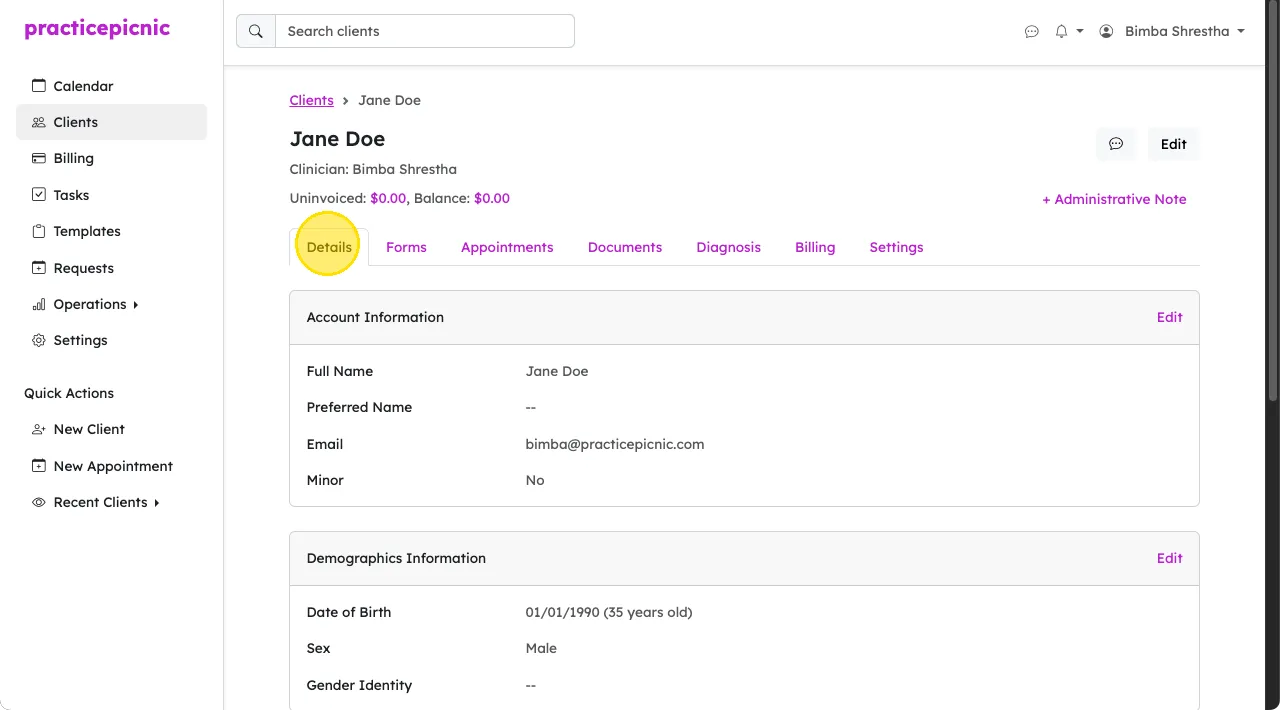
To send HIPAA-compliant forms to a client, go to their Forms tab and click Send Forms. A dialog will appear where you can choose which forms to send.
When you create your account, Practicepicnic includes a default set of forms. You can customize these at any time. See Customizing forms and consents for details.
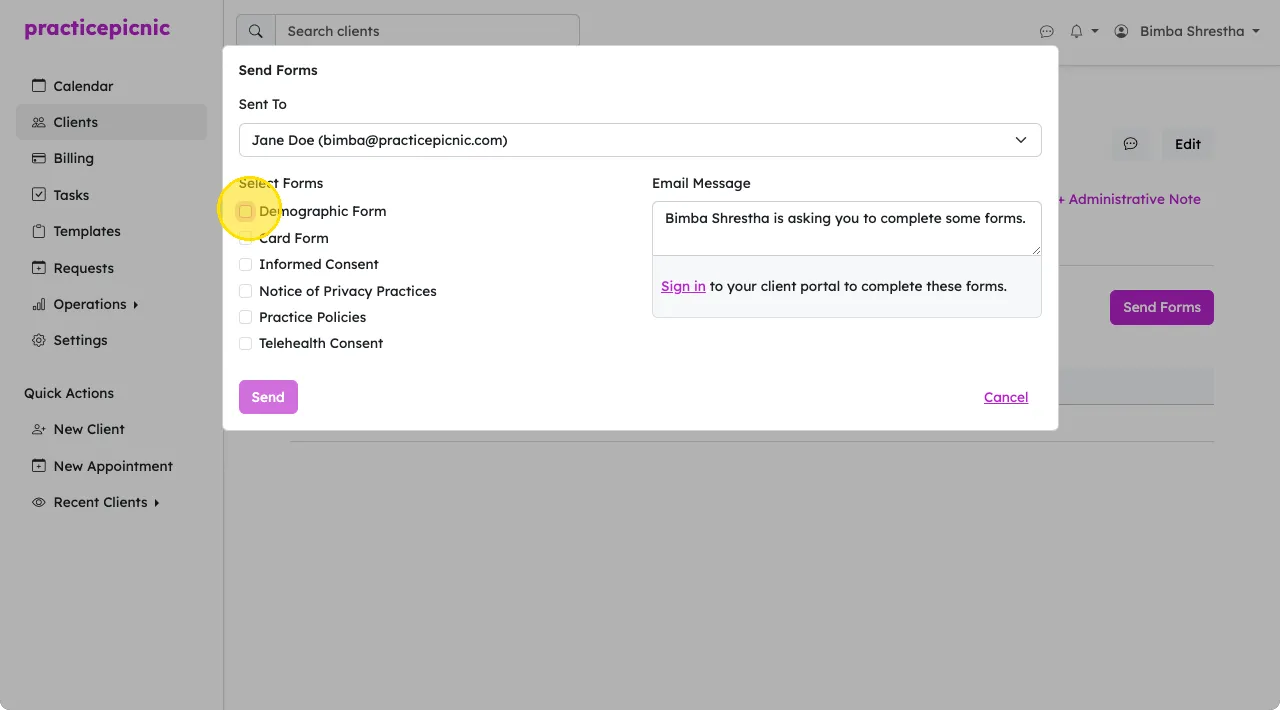
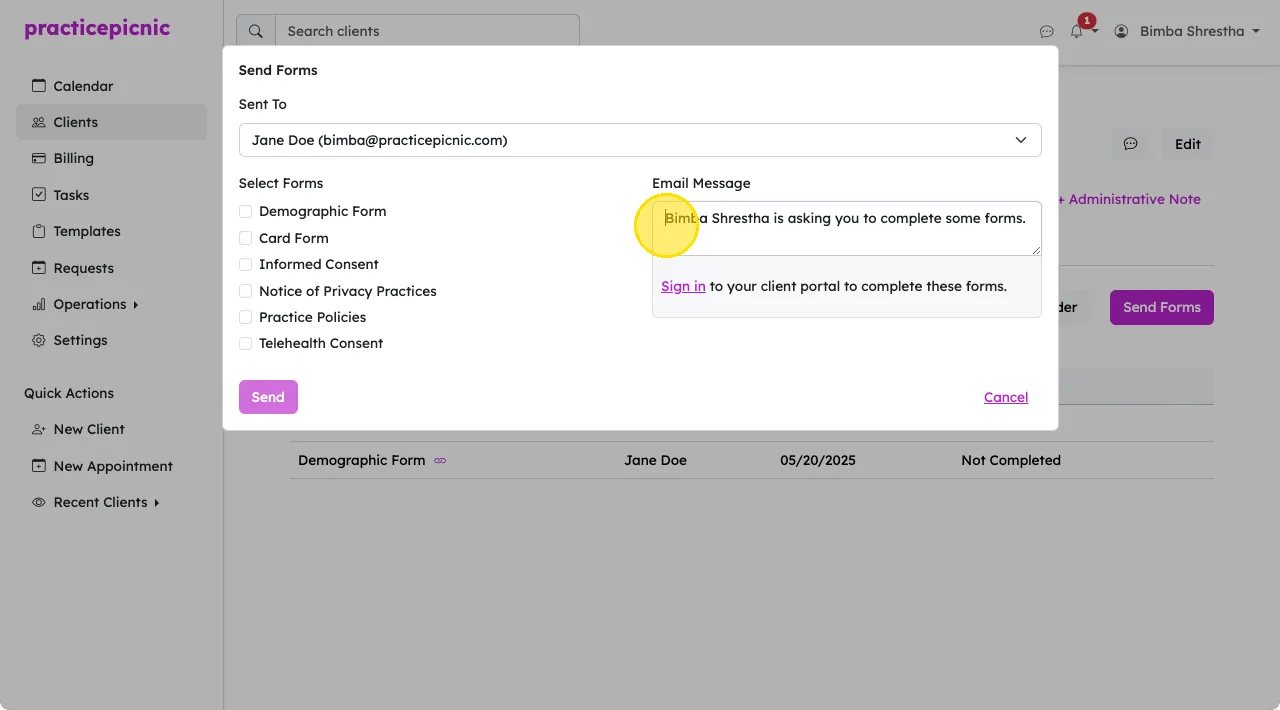
When you hit send, the client selected will get an email with a link to fill out the forms. You can also customize the message for your client that gets sent with your forms.
Creating a new client record with an email address present will automatically redirect you to the send forms dialog so you can quickly send them an intake packet.
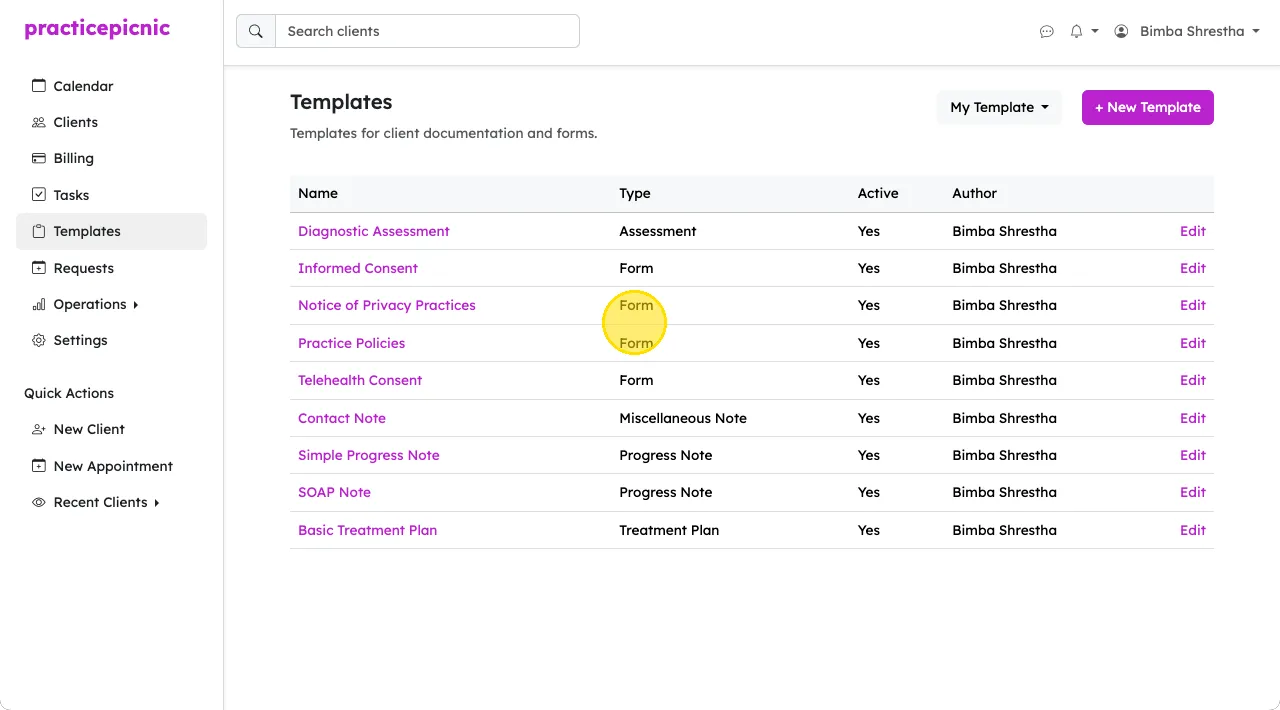
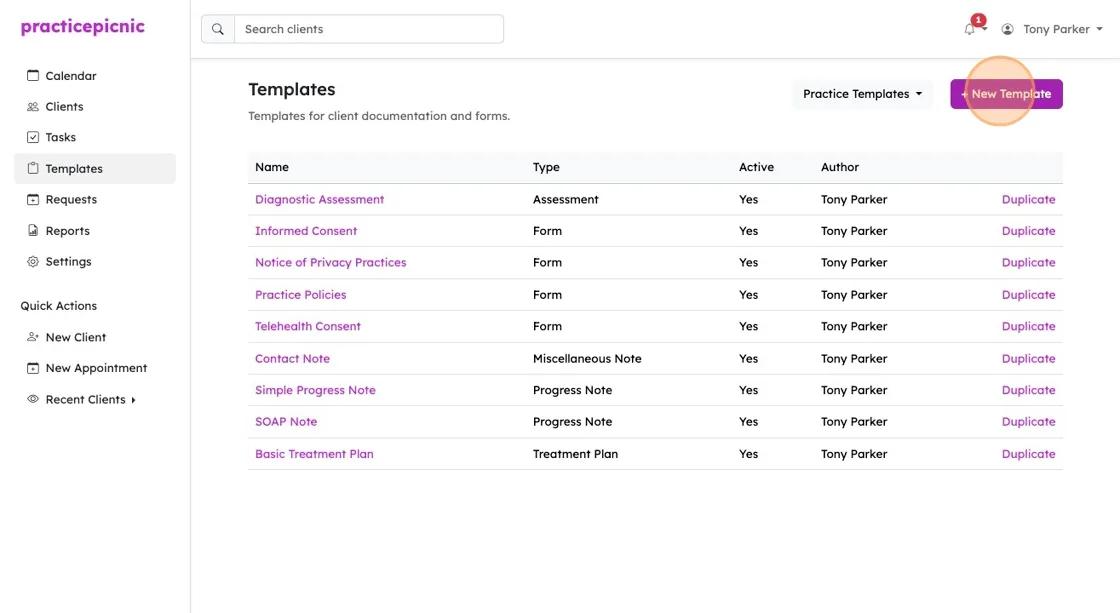
Default form templates
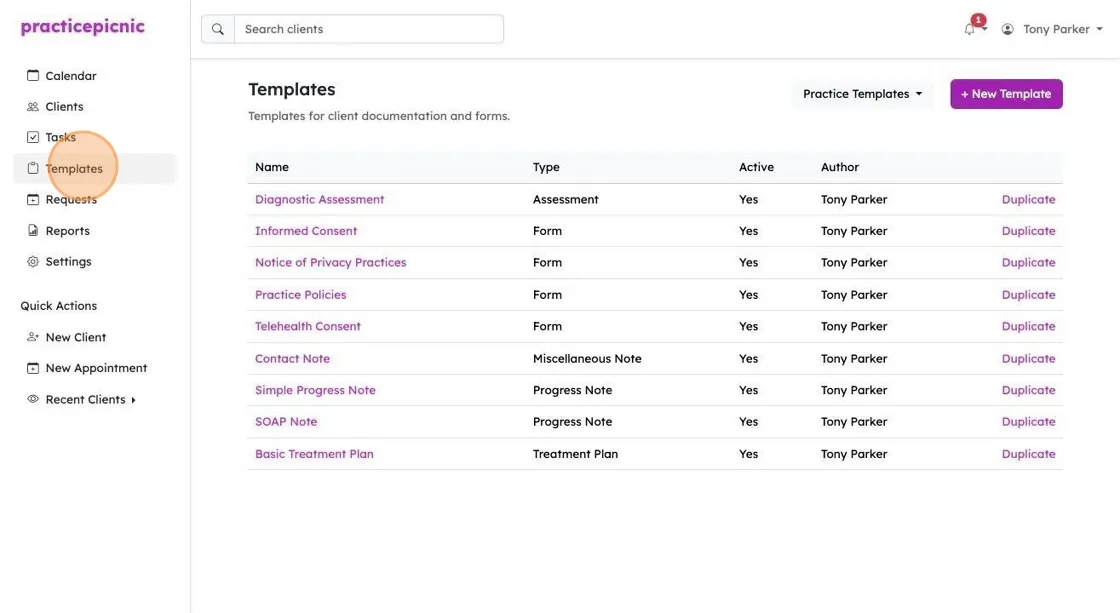
When our support team sets up your account, it will come pre-configured with certain default intake forms depending on the type of practice you run. You can see these defaults by navigating to the Templates page and viewing the Form templates.
You can also see which forms are currently set up for your practice by clicking the Send Forms button from a client's Forms tab.
The forms that appear on the list are the ones which are currently active for you.
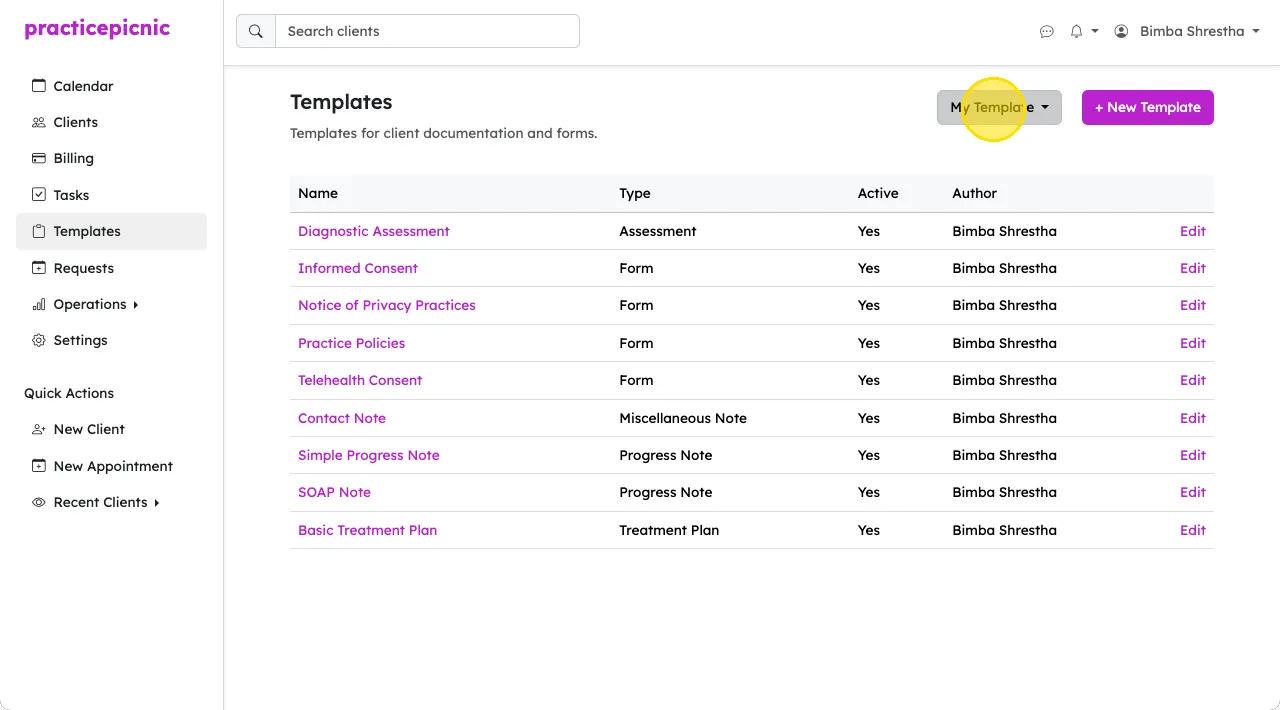
In your templates, you'll see that there are 3 buckets that forms can fall into: My templates, Practice templates and Template library. You can see what is inside each bucket from the dropdown on the top right.
Form templates will be available to send to clients if:
- They are marked as a Form template type
- They are marked as active
- They are either under the My templates bucket or the Practice templates bucket.
Special forms
Forms in Practicepicnic are powered by our template system. To learn more about how templates work, see the Customizing forms and consents section below.
However, a few forms in Practicepicnic have special behavior and aren't built using the template system. These forms will appear as the top-most options on the send forms dialog.
- Demographics Form
- Card Form
Demographics form
One of the special forms is the Demographics Form. This is used for collecting basic information about a client like their date of birth, sex and contact preferences.
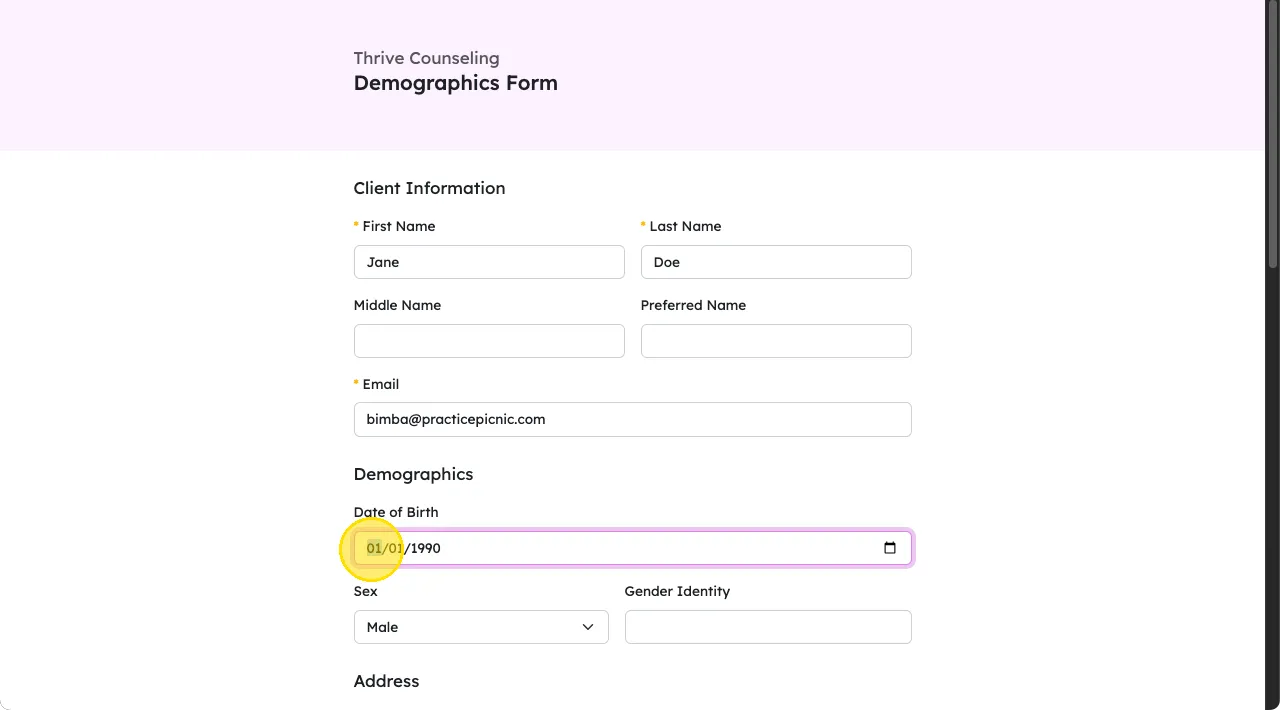
When a client fills out a Demographics Form, the information auto-fills into their client record under the corresponding fields.
The Demographics Form also contains an emergency contact section, which when filled by the client, will add an emergency contact to the client's record.
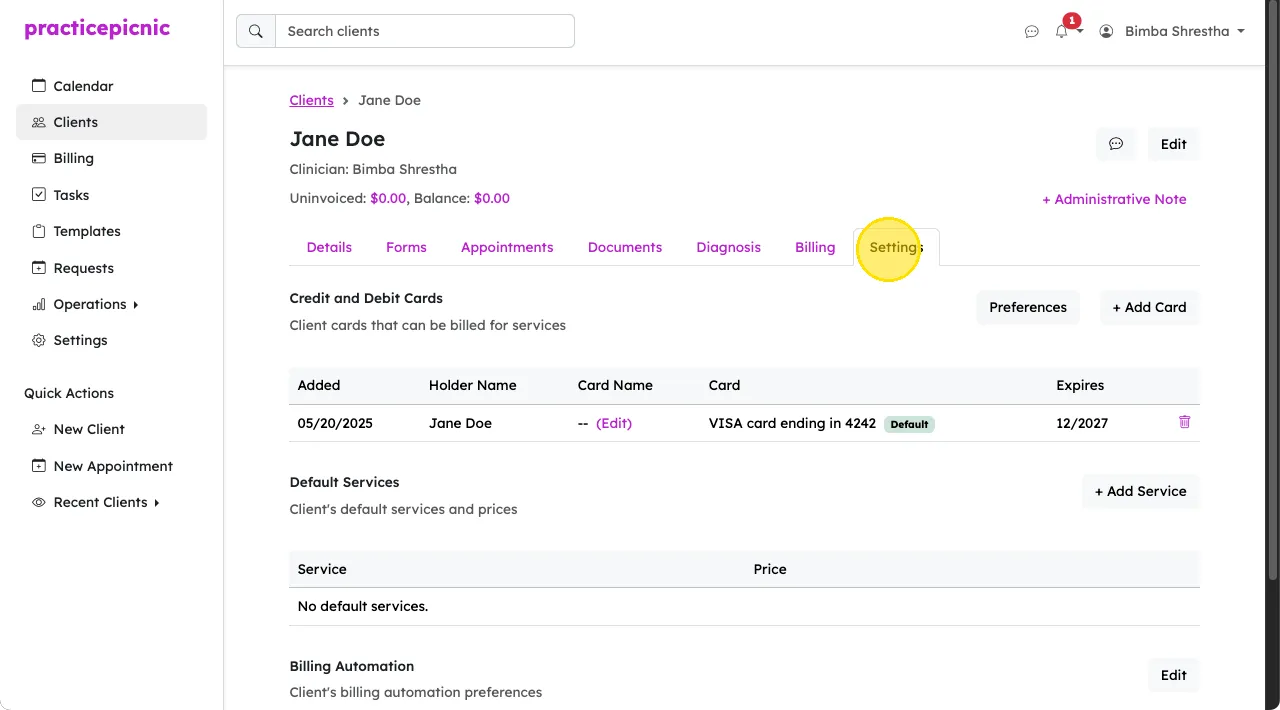
Card form
Another one of the special forms is the Card Form. This is used for collecting credit card information from a client so that you can charge them for sessions.
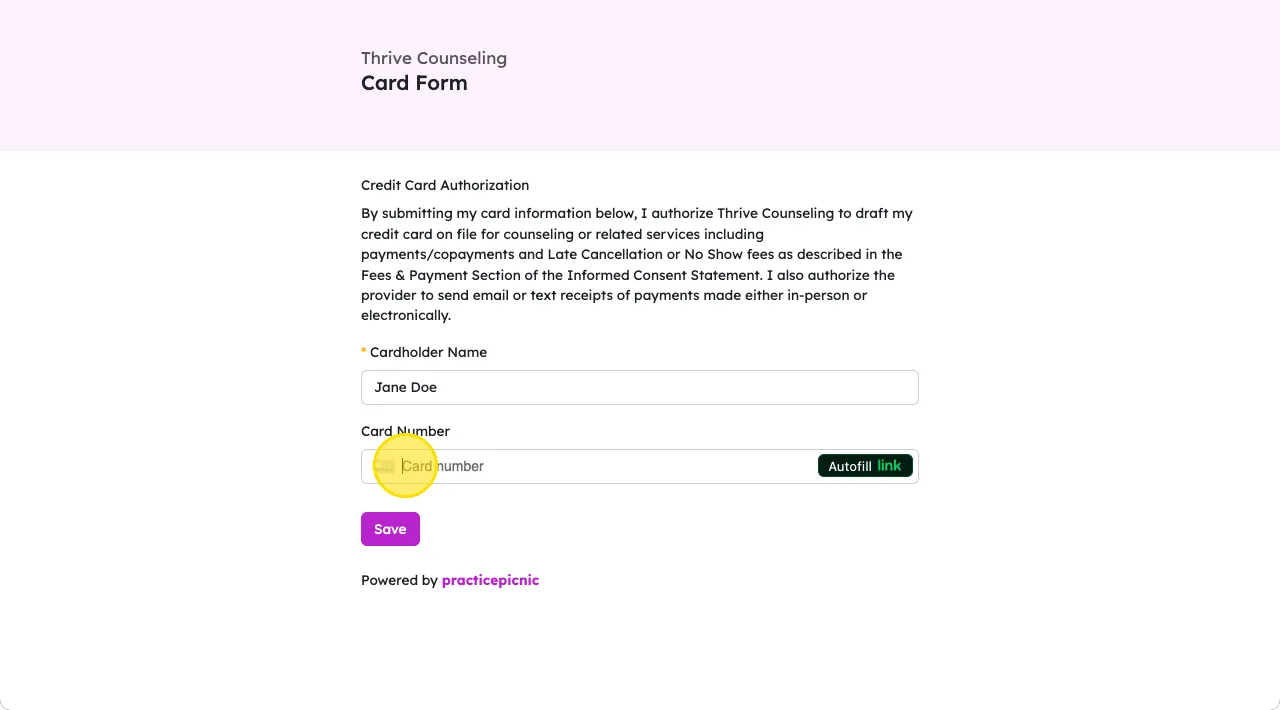
When a client fills out a Card Form, their card information is stored on file for future use in auto or manual payments.
The text that appears on the card form can be customized. Contact Practicepicnic support to help you do this.
Customizing forms and consents
The easiest way to demonstrate how to customize forms is to walk through an example. Let's assume we'd like to create our own custom Client Intake Form. First go to Templates.
Click "+ New Template". If you wanted to modify an existing template, you'd click Edit next to the template you'd like to modify instead.
Select Form as the type of template.
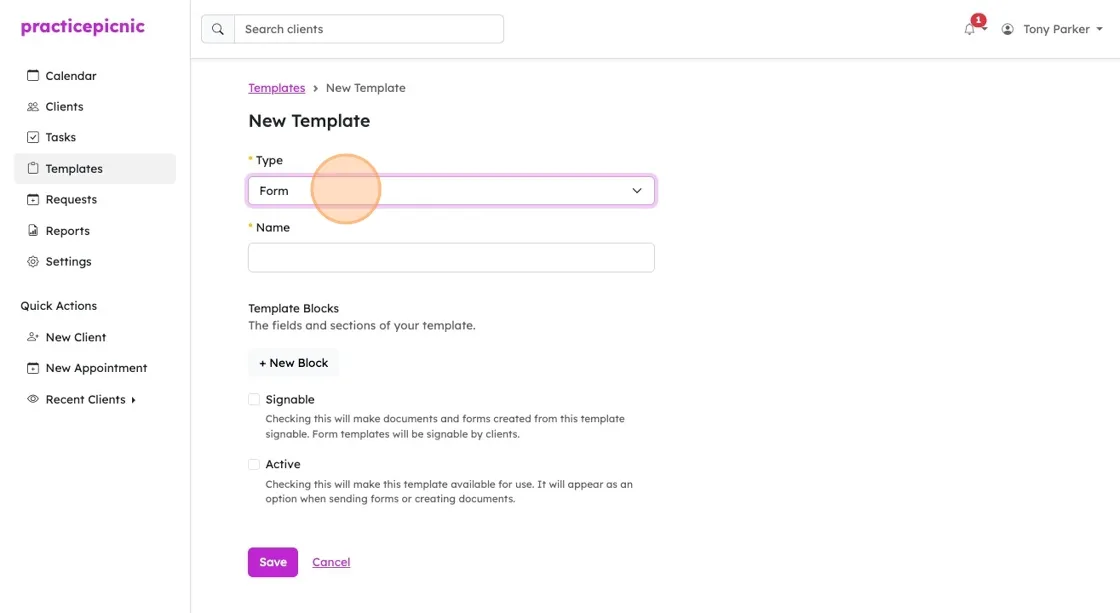
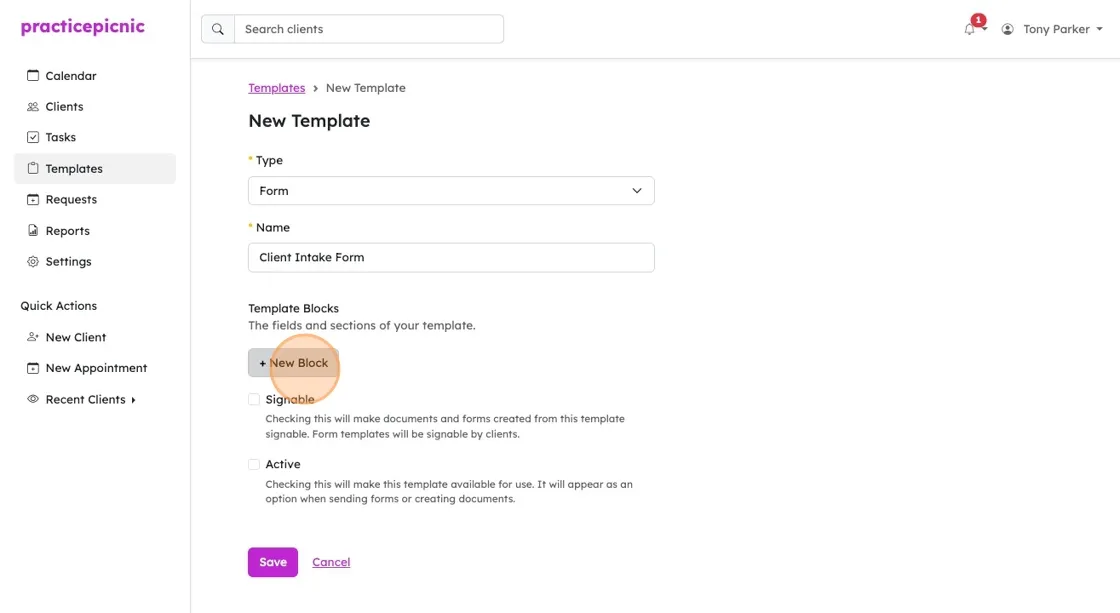
Give your Form template a name

Click "+ New Block" to add a new template element (we call them blocks)
Each block can be either an interactive one (ie: the user can input information):
- Single line text: for text boxes that just one line (eg: Client Name)
- Multiple line text: for text boxes that are multiple lines (eg: Presenting Problem)
- Date field: for date inputs (eg: Date of birth)
- Single choice: radio (circle) choices. (eg: Yes/No questions)
- Multiple choice: checkboxes (eg: which of the following apply... questions)
- Drop down: single choice dropdown.
Or a non-interactive one:
- Heading: a heading section (no user interaction)
- Paragraph: a paragraph section (no user interaction)
The first block will be a required Single Line Text for the Client Name. Click "+ New Block" to add another.
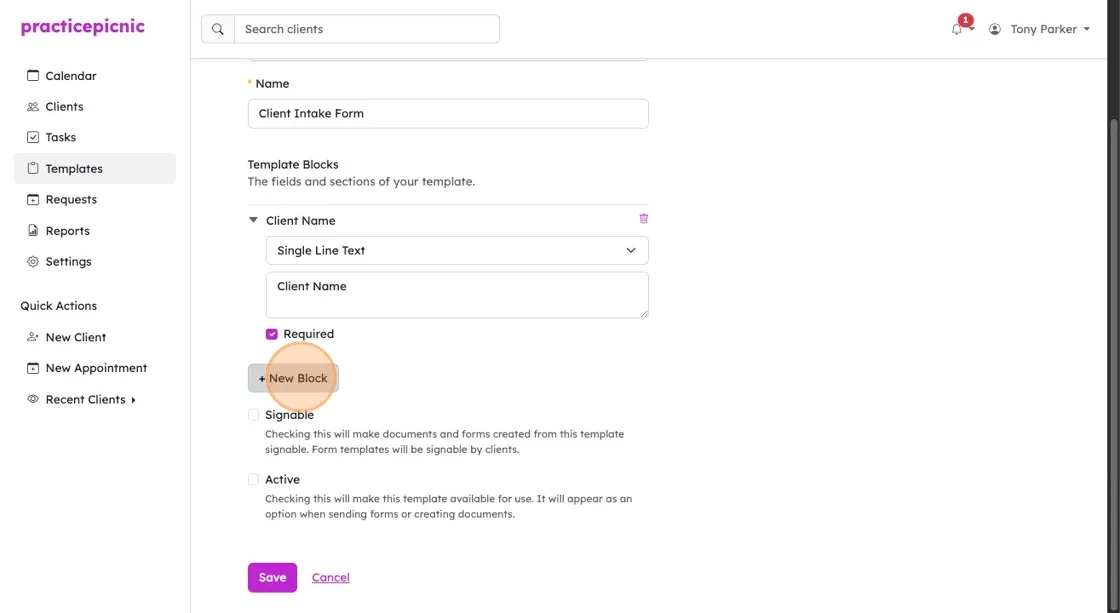
The second block will be a Multiple Line Text for the Client's history with therapy. Click "+ New Block" to add another.

In this way, you can keep adding template blocks until you have what you need. Click "Save" once you're done. You will be presented with a preview of your template after.
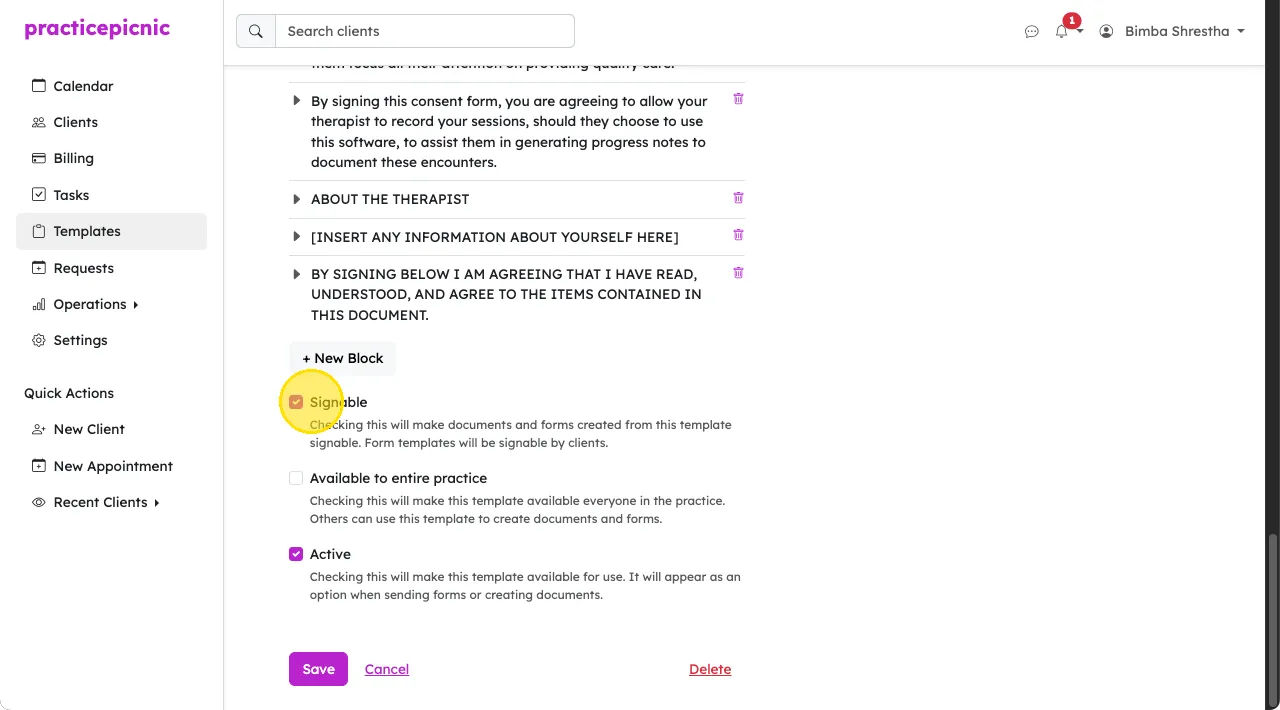
eSignatures
Checking the box next to Signable at the bottom of the Form template will make a form or consent document signable by a client (an eSignature block will be automatically added to the bottom of the form).