
Help center > Getting started > Account and practice setup
Account and practice setup
- Creating an account
- Setting up practice details
- Adding clinicians, supervisors and managers
- Choosing user roles and permissions
Creating an account
We offer a 30-day money-back guarantee, and you can cancel anytime. To get started, schedule a product demo. During the demo, we'll help set up your account based on your practice's needs.
Setting up practice details
When our support team sets up your account, we'll pre-fill it with some basic details about your practice. In the next steps, you'll review that information and add a few more things.
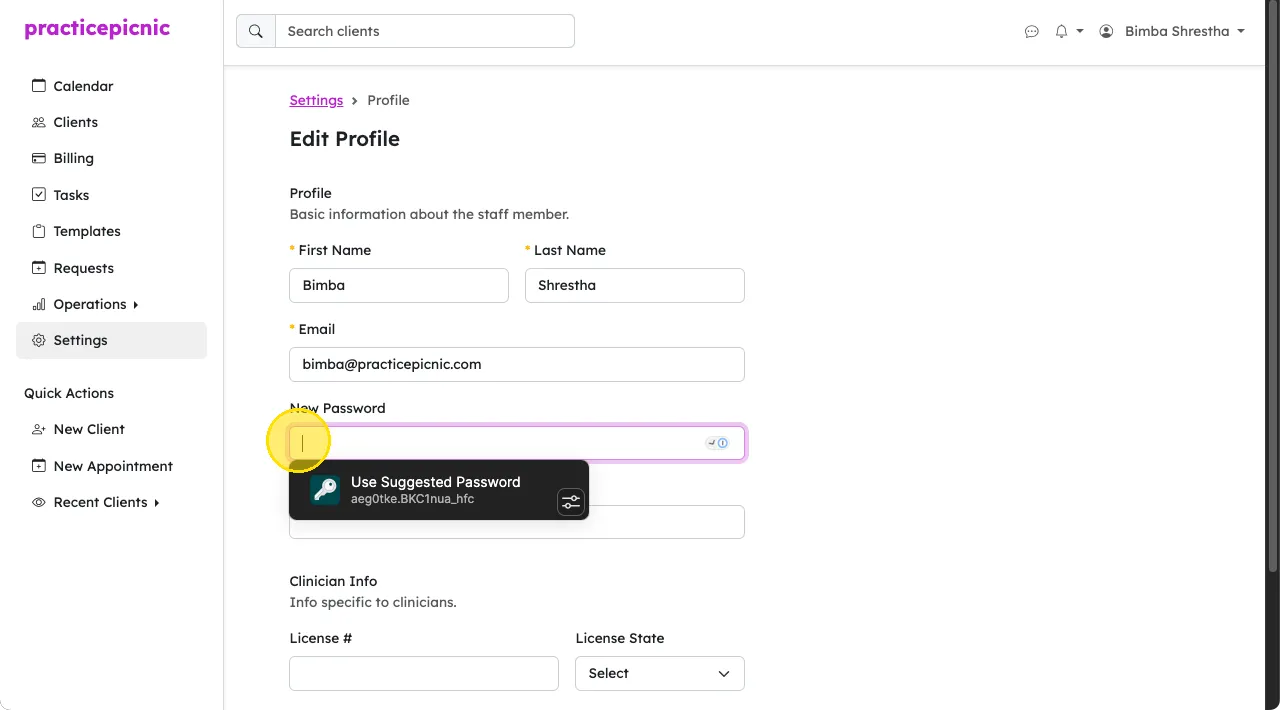
Update your password
On the Settings > Profile page, start by setting a secure password for your account. This helps keep your practice information safe.
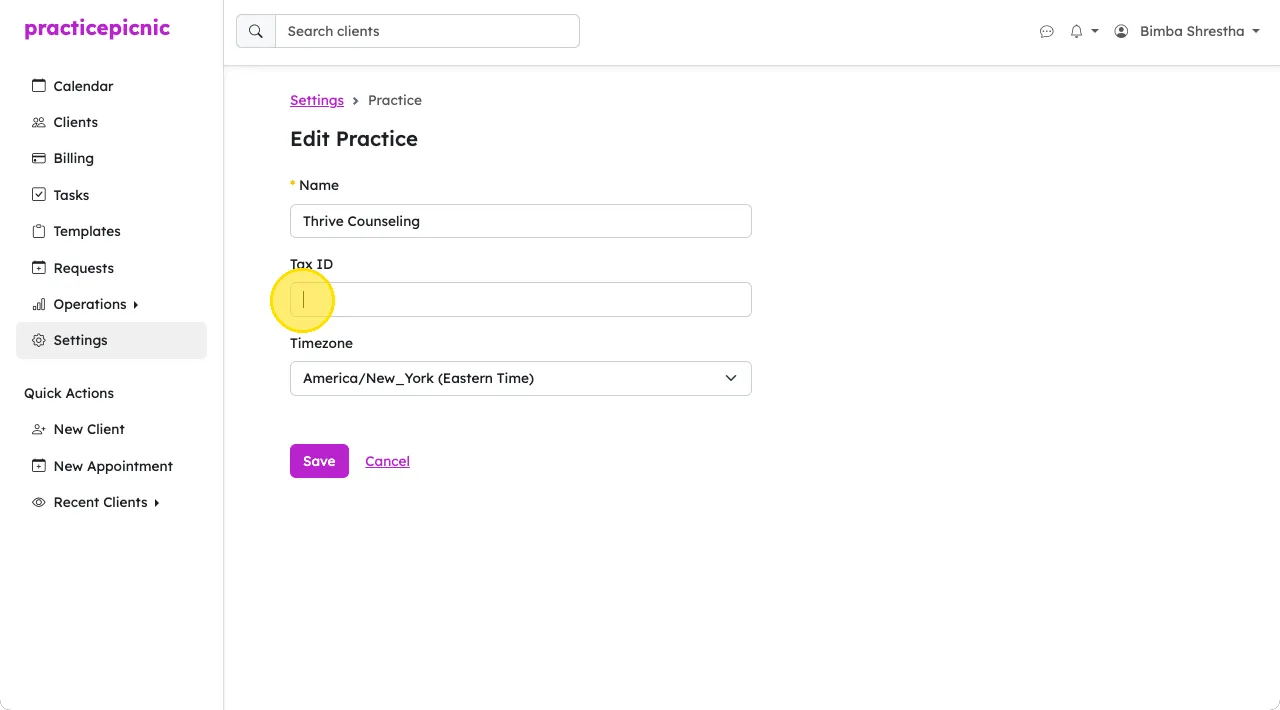
Confirm practice name, timezone and add EIN
On the Settings > Practice page, check that your practice name and timezone are correct. You can also enter your EIN or SSN here.
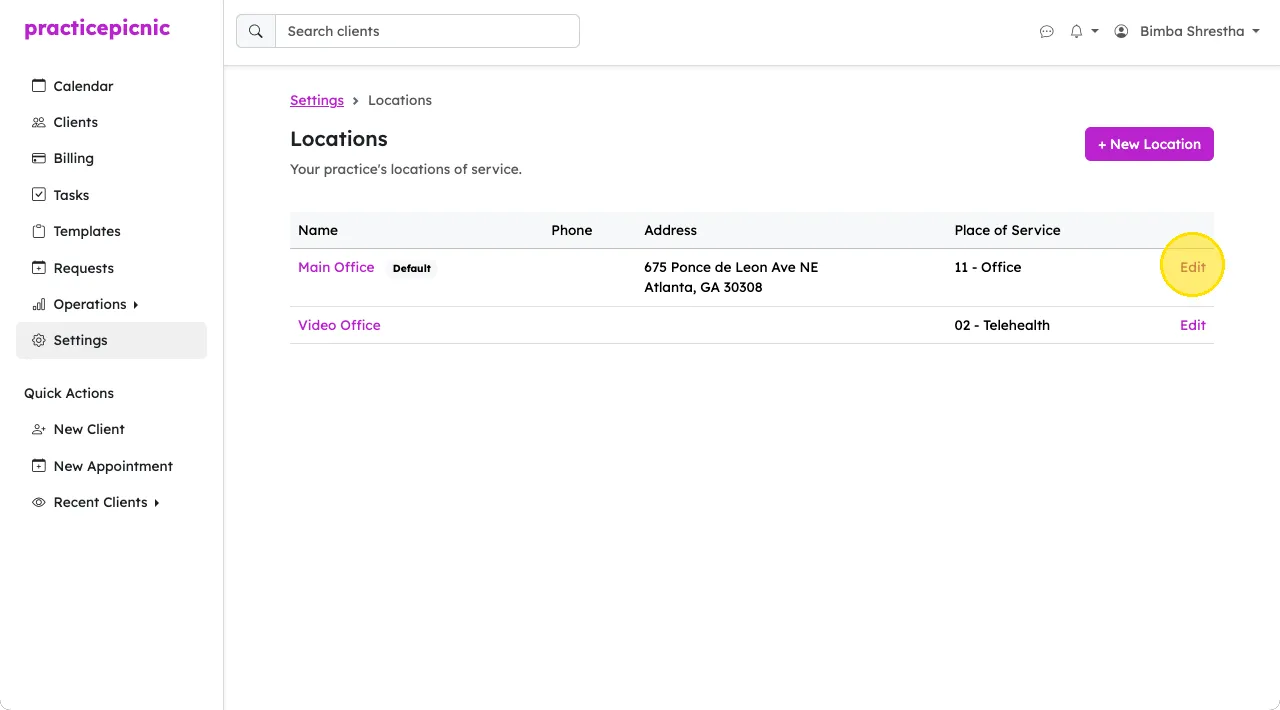
Confirm practice location(s)
On the Settings > Locations page, review the address we've added for your practice. If you offer in-person sessions, this is what clients will see in your client portal, reminders and billing documents. If something doesn't look right, click Edit to make changes.
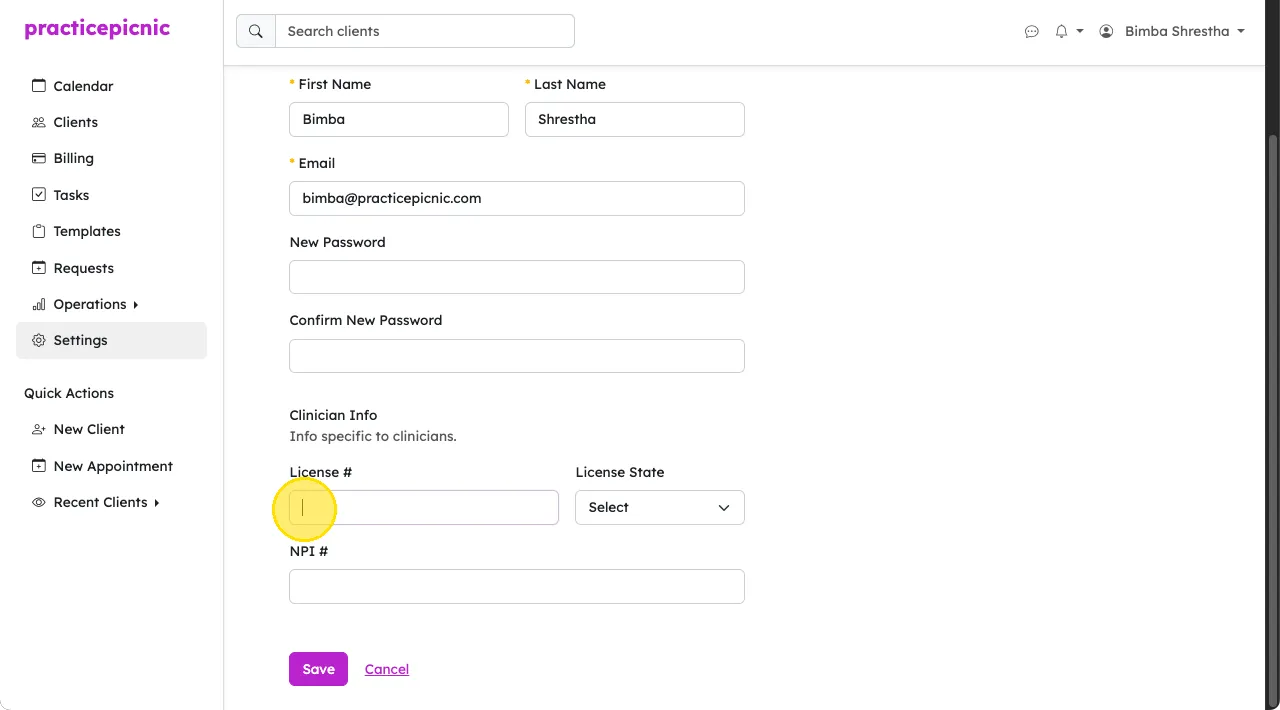
Add clinicial information
On the Settings > Profile page again, fill in your clinical details such as your license and NPI numbers. This information shows up on billing documents.
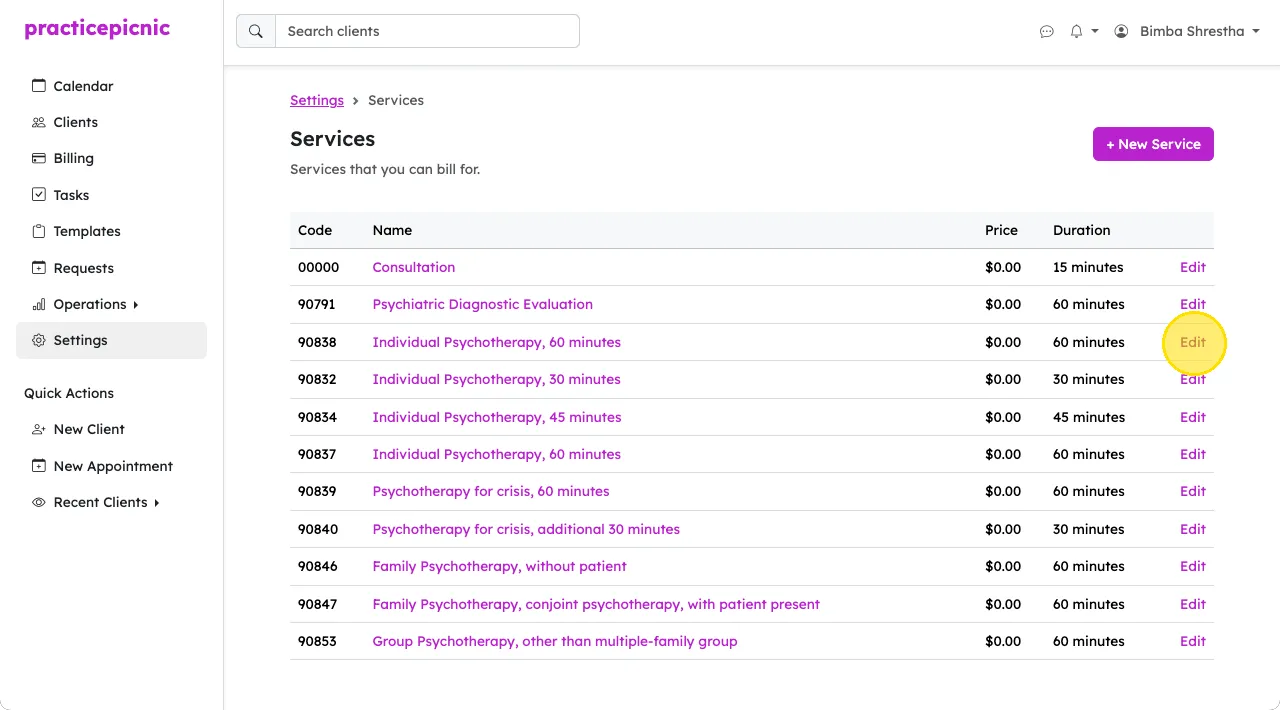
Set your standard services and rates
On the Settings > Services page, configure the types of sessions you offer and set your standard fees. A default set will be set up for you by our team based on your practice type. Click on each one to edit to your needs.
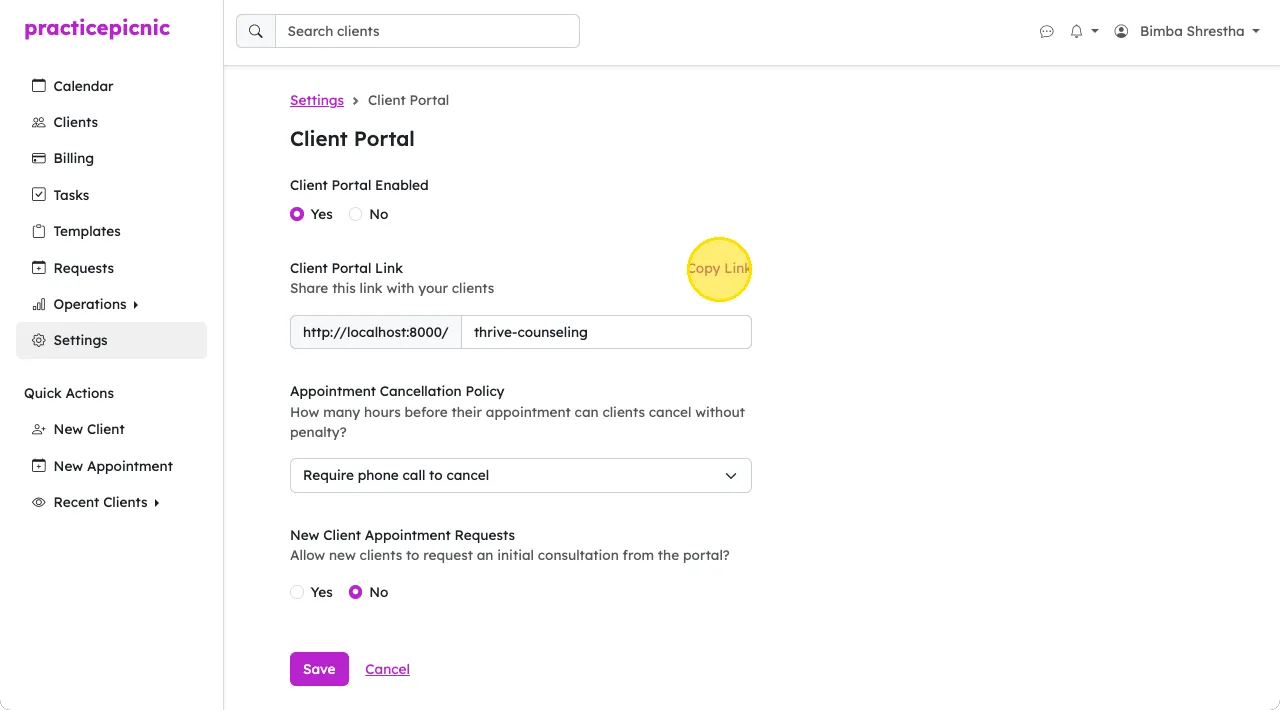
View your online client portal
On the Settings > Client Portal page, take a look at what your clients will see when they log in. Click the Copy Link button next to the client portal link and paste that into a new browser tab to see it looks like.
Connect to Stripe for online payments
On the Settings > Online Payment page, set up Stripe to accept credit card payments from clients. It only takes a few minutes and is required if you plan to use Practicepicnic to charge client cards online.
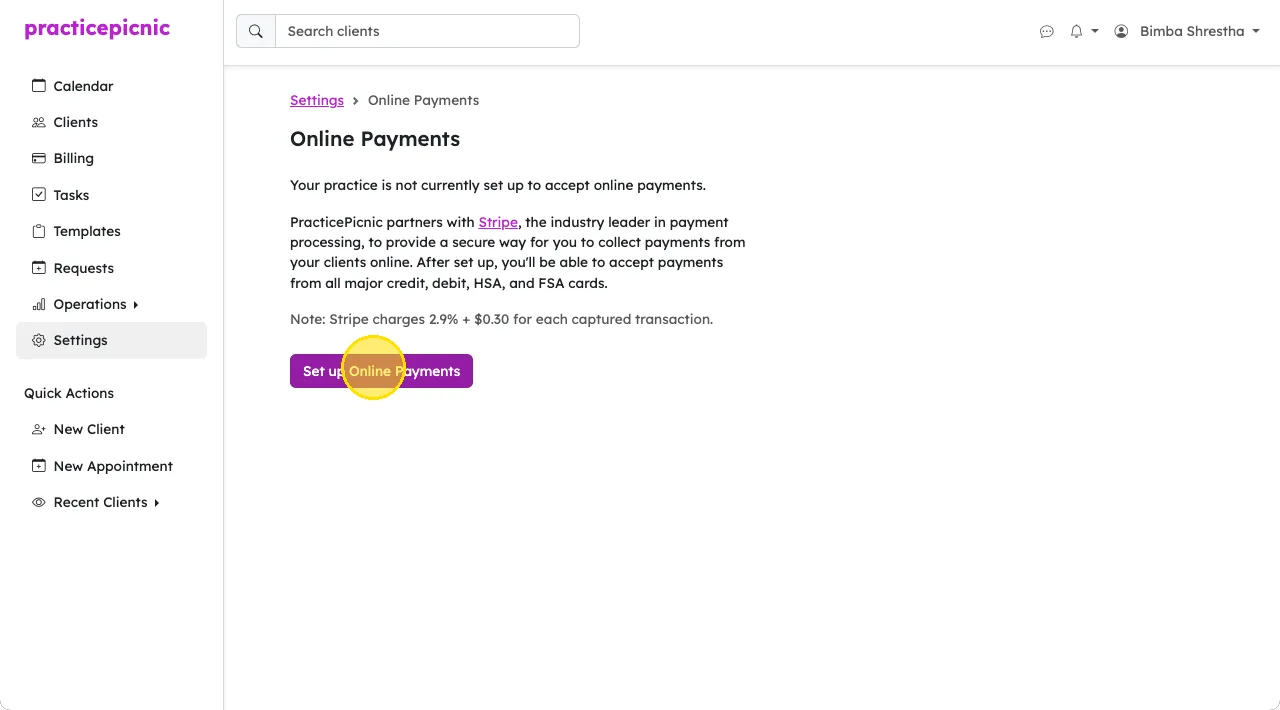
You'll need a Stripe account to collect payments from your clients using PracticePicnic. If you already have a Stripe account, you can simply connect it to your PracticePicnic account. If you do not, you will have to create one. It's free to create.
See the Billing section for help setting up online payments.
Adding clinicians, supervisors and managers
If you're a solo practice, you can skip this step.
If you're a group practice, you'll want to invite your team members to Practicepicnic. Go to Settings > Team Members and click + New Member.
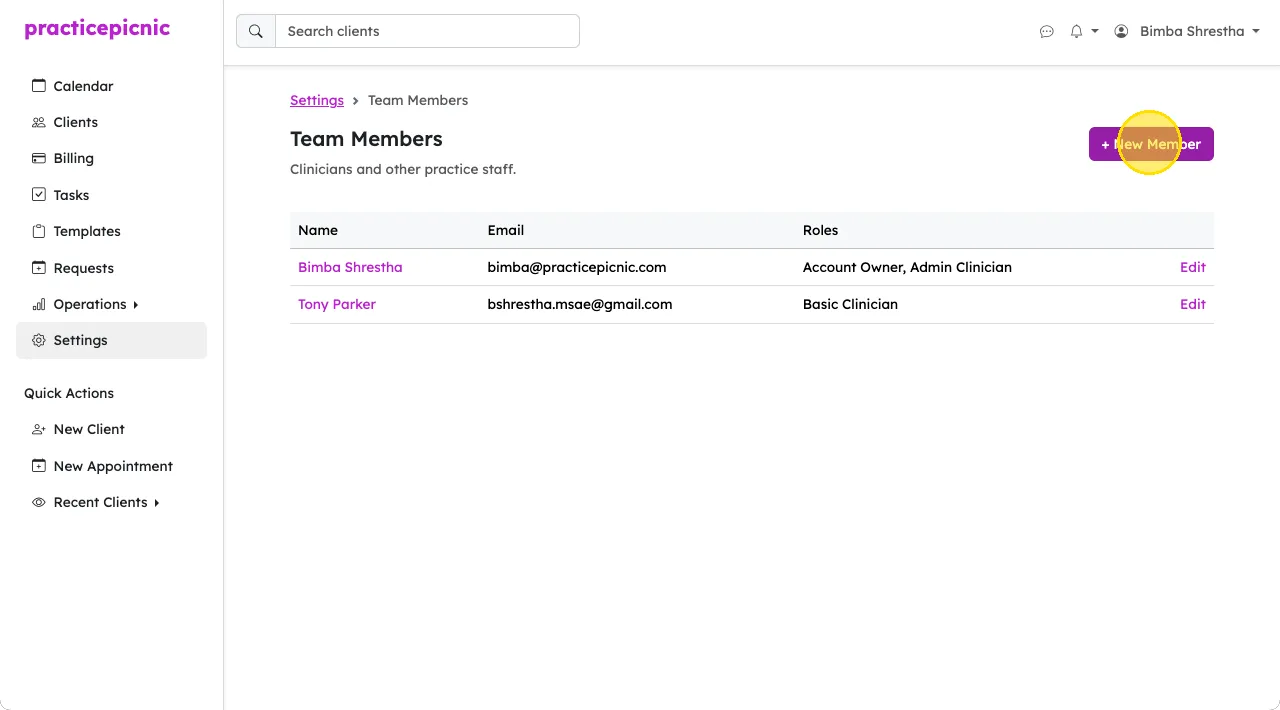
Enter their name, email, and role. To learn more about what each role can do, see the Practice management section.
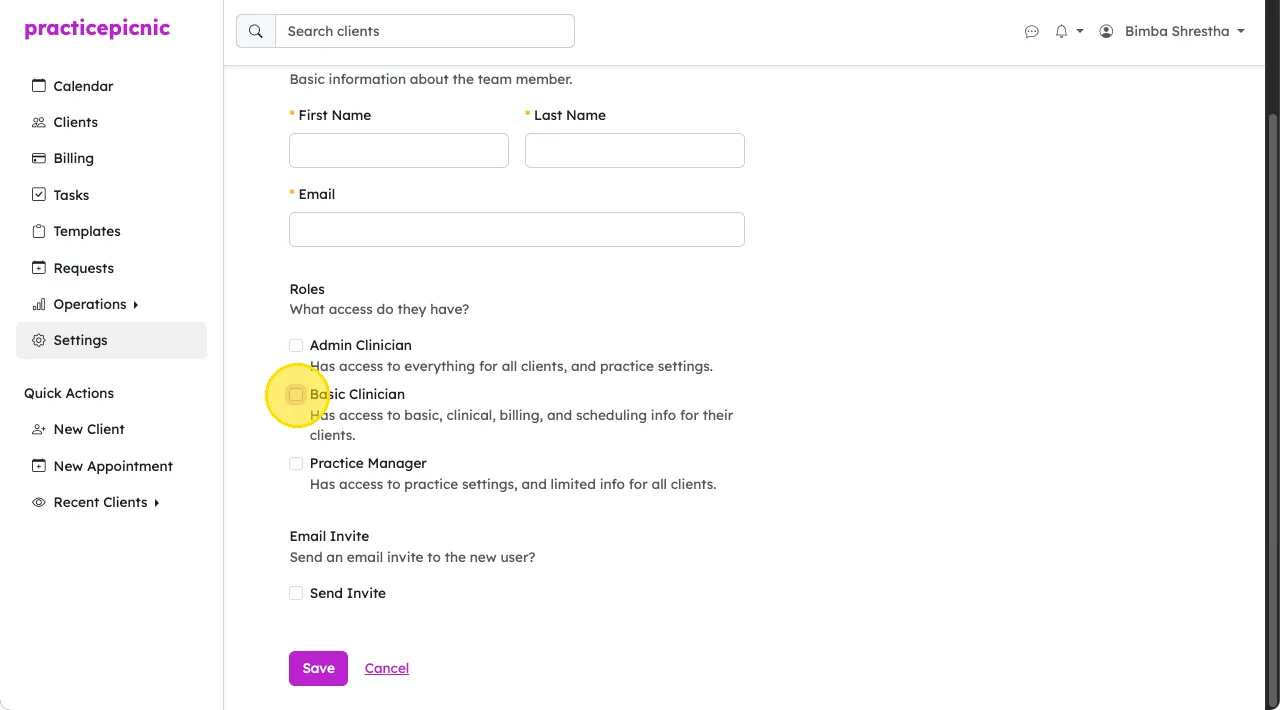
Make sure Send invite is checked, then click Save.
Choosing user roles and permissions
Practicepicnic keeps roles simple. There are three types of users:
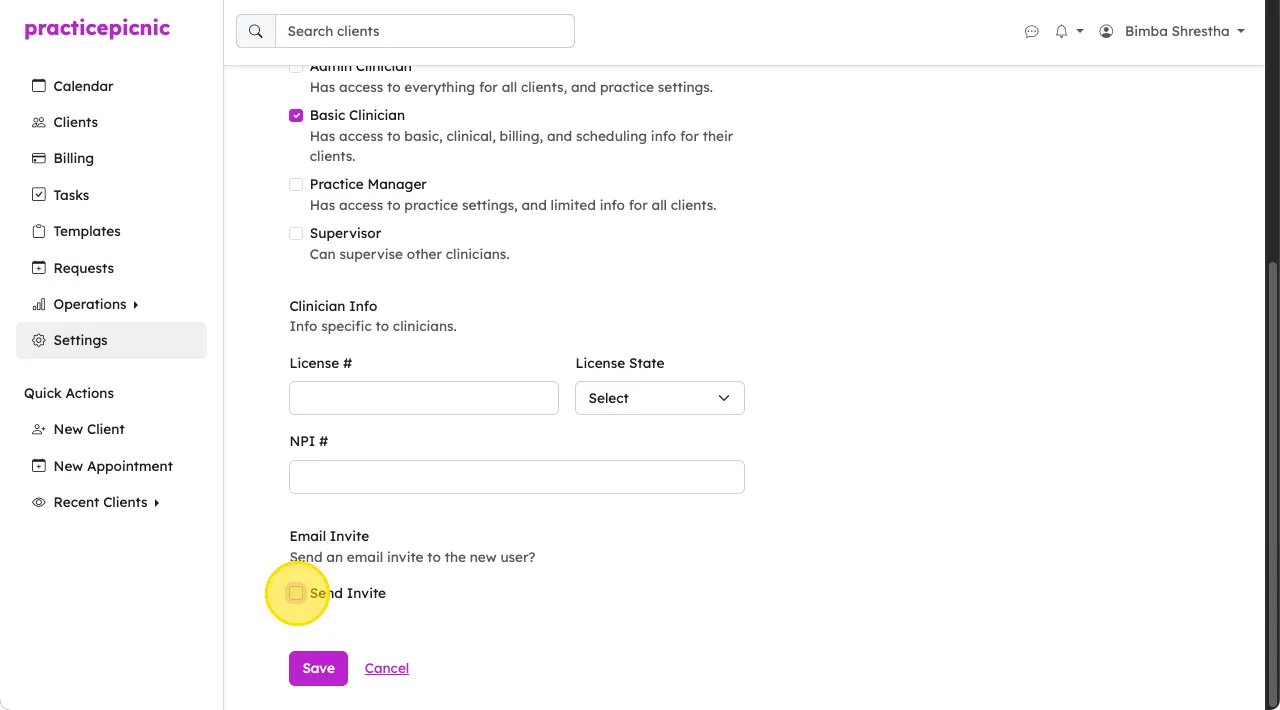
- Admin clinicians – full access to all clinical and admin information
- Basic clinicians – access limited to their own clients
- Practice managers – access to all non-clinical information for all clients
You can also assign the supervisor role to any clinician. Supervisors can view and support the work of other clinicians.
For more on roles and permissions, see the Practice management section.