Help center > Intake > The client record
The client record
Client records sit at the heart of Practicepicnic. Appointments, invoices, documents, forms, and payment methods all link back to a client. This guide walks you through adding a new client.
Adding a new client
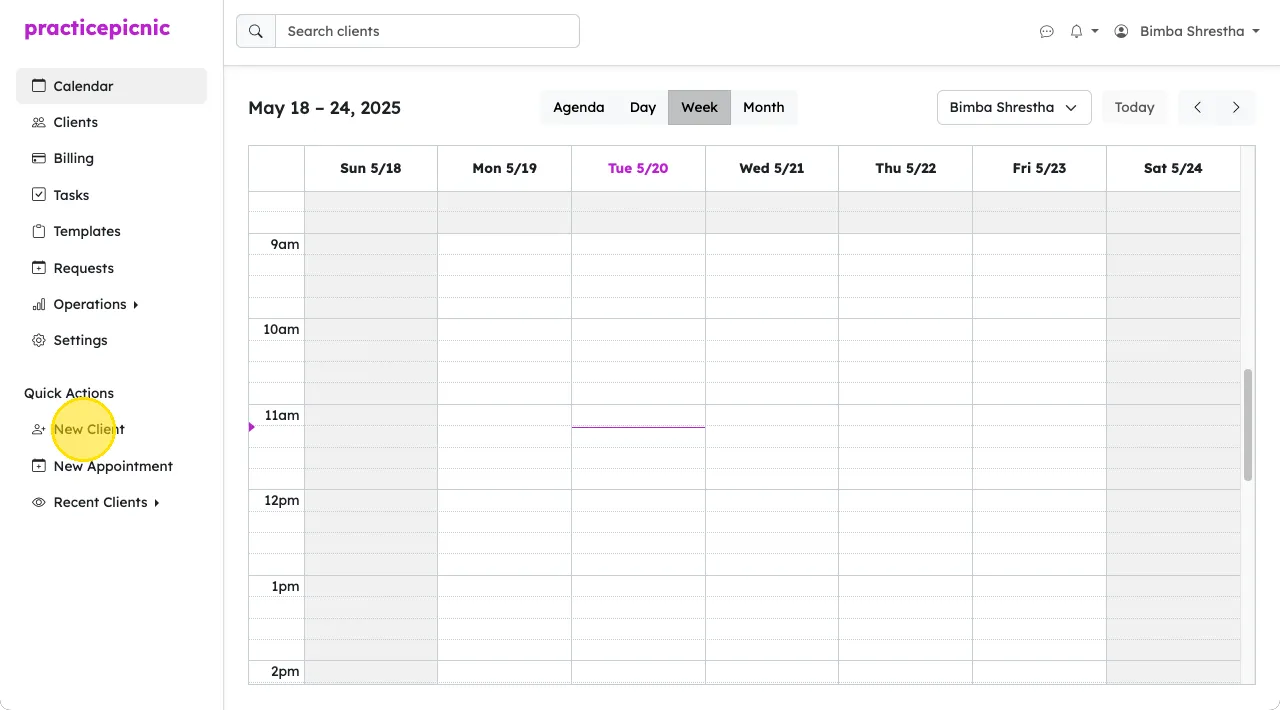
To add a new client, click on the New Client button from the left sidebar.
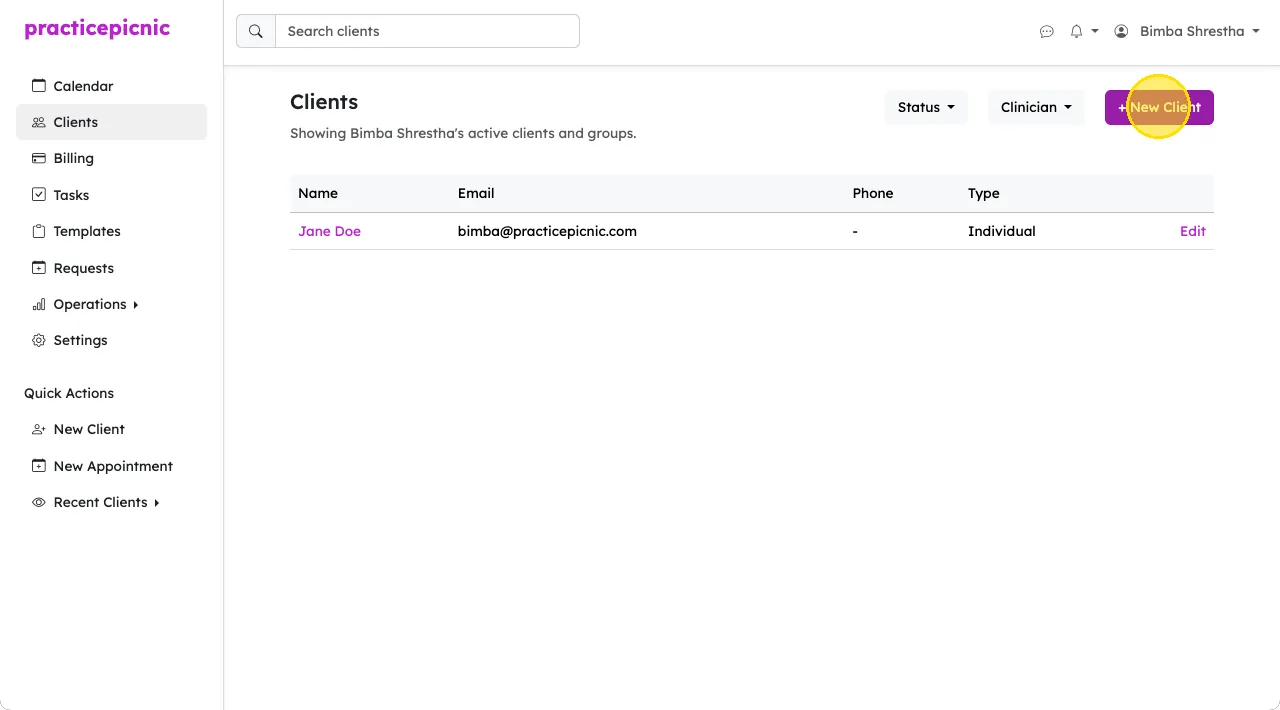
You can also click on the New Client button from the Clients page.
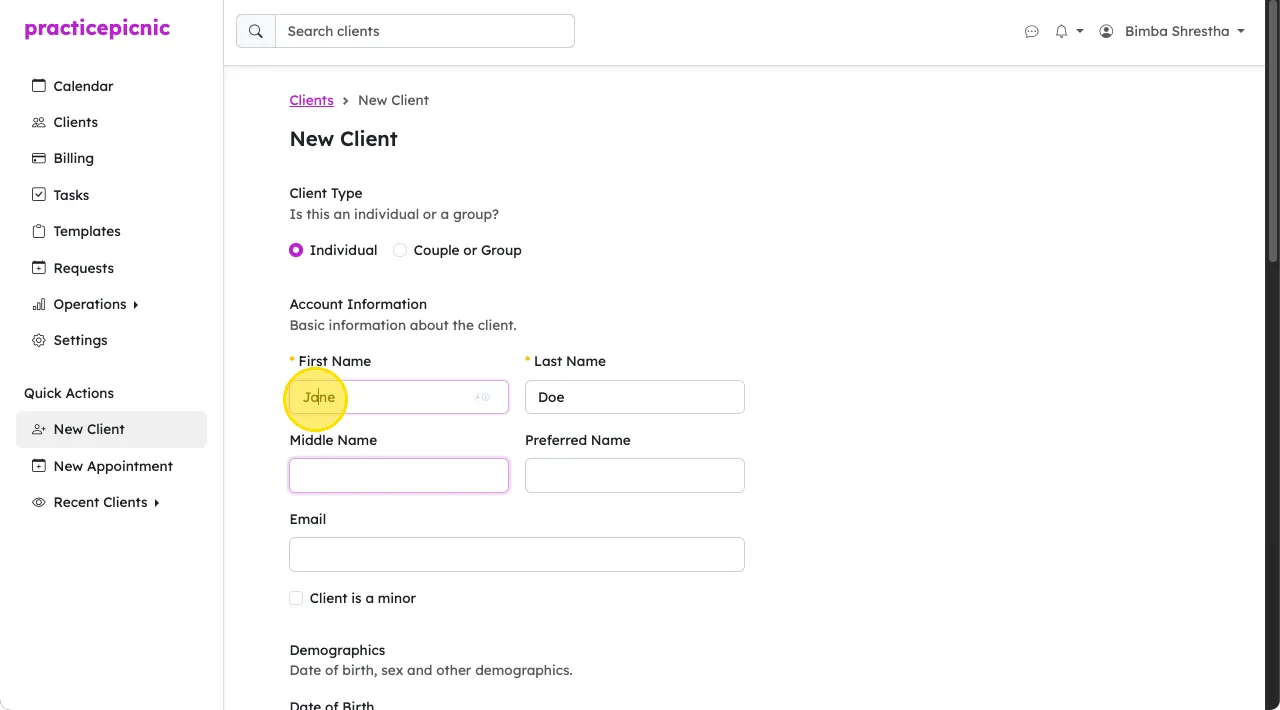
Only the first and last name are required fields when creating a new client, but we recommend all users enter an email address for the client as well (for receiving intake packets).
A new client will also automatically be created when you accept an appointment request from a client who is not already on Practicepicnic.
Client types
Here is how you can create different types of clients on Practicepicnic.
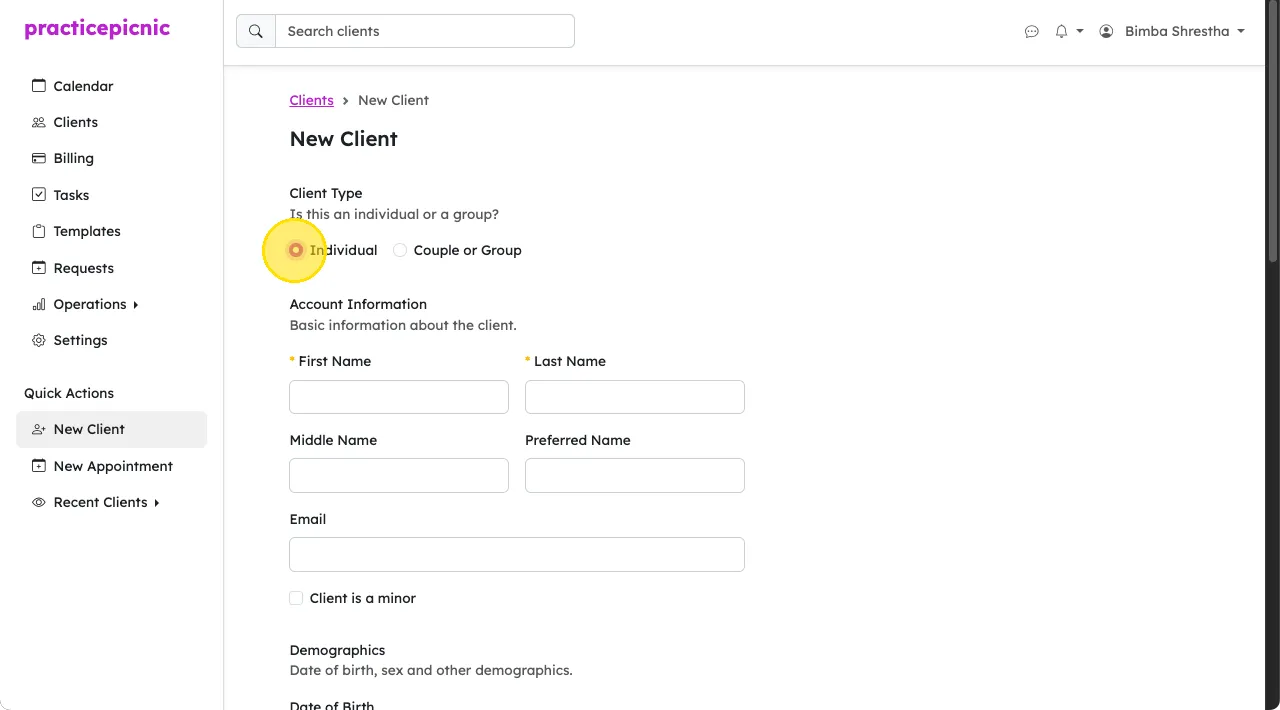
Individual adult
On the new appointment page, select the Individual option from the top, fill in the client's details and then click Save.
Couples and groups
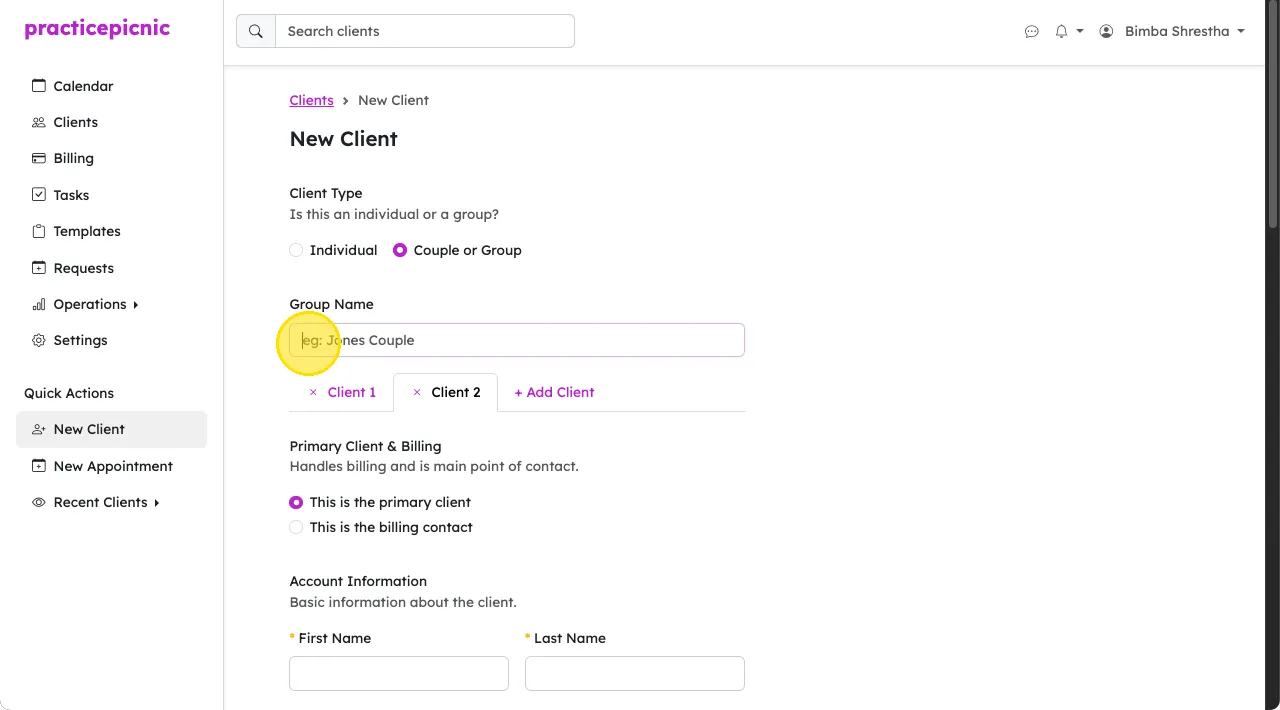
On the new appointment page, select the couple or group option from the top.
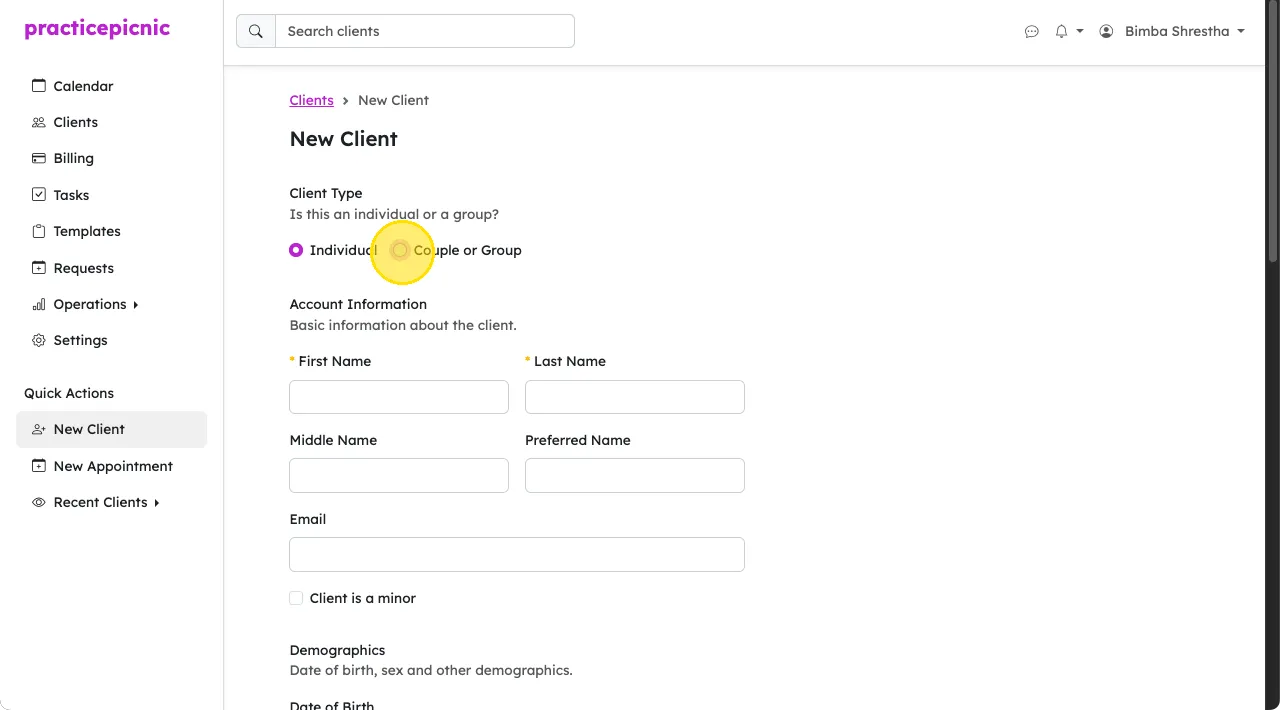
Each member of a group will have their own client profile. A couple is just a group with two members. You will be able to send forms, messages and collect information from each client individually.
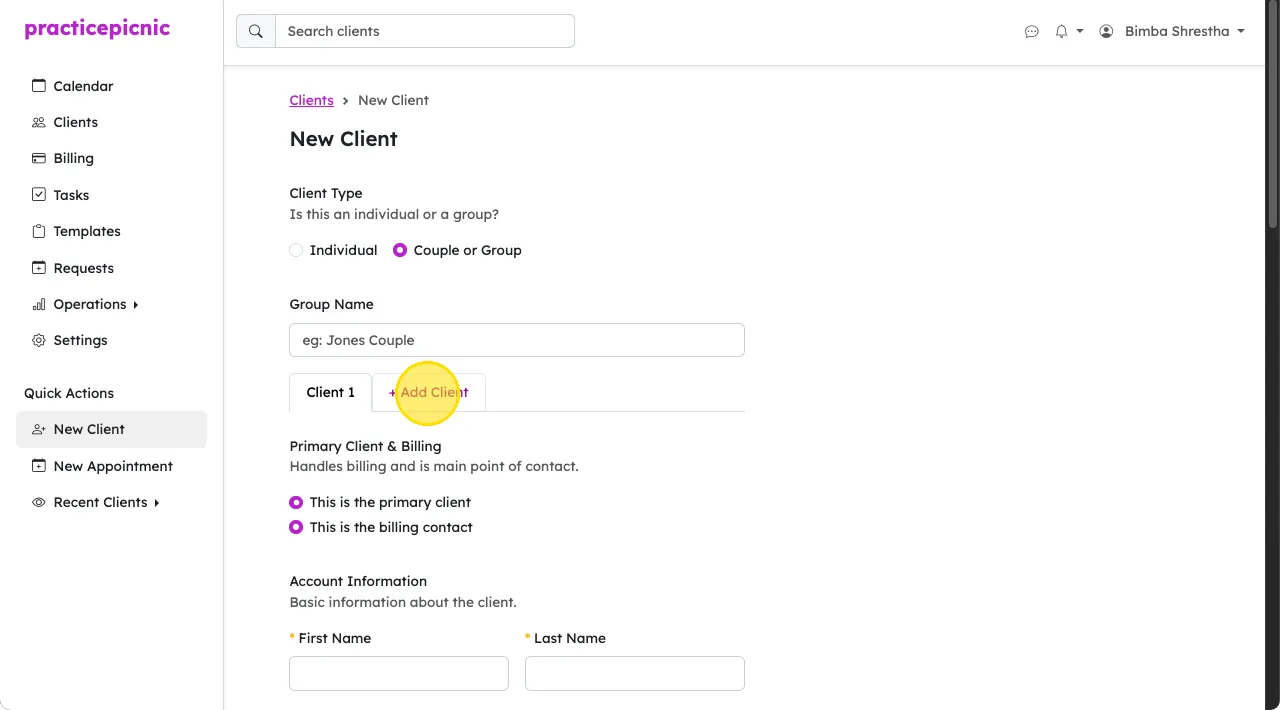
To add a new member to the group, click the Add Client button to add a new client tab.
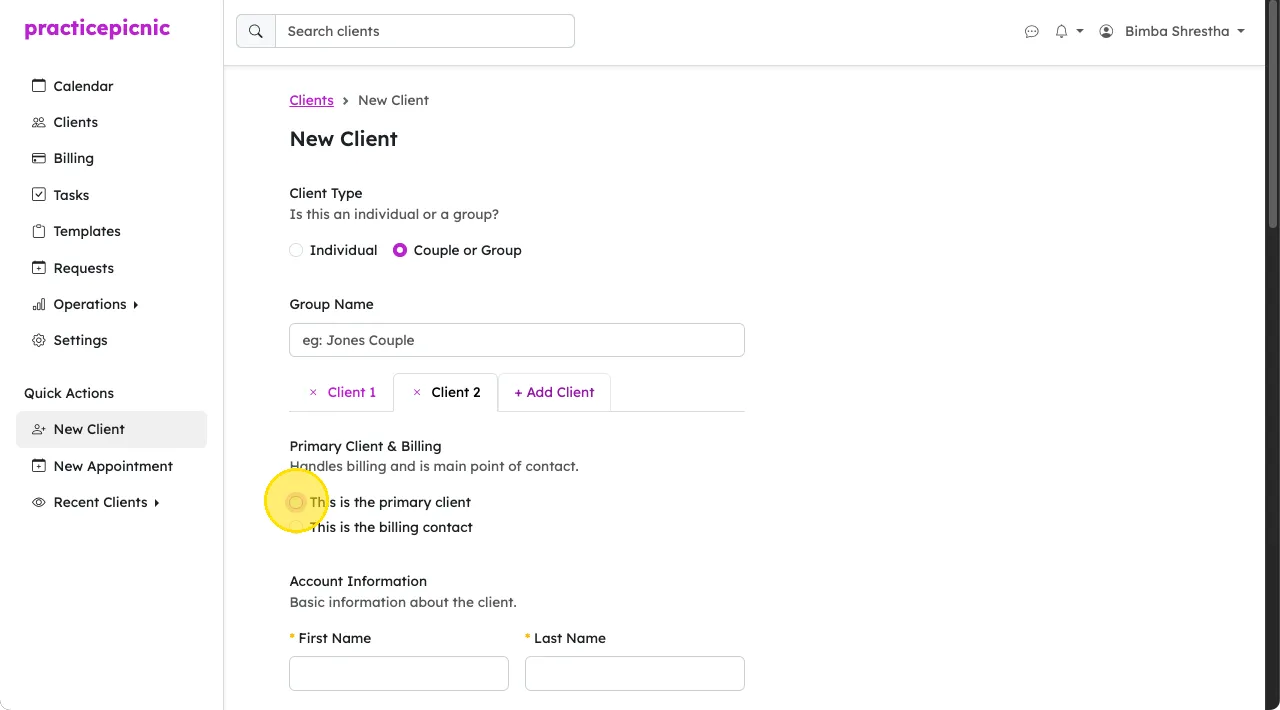
In a group, you can select which clients are the following:
- Primary client: The client who diagnoses will be attached to and whose name will show up on superbills.
- Billing contact: The client who will be sent billing related information.
You can give your couple or group a name (eg: The Jones Couple). If no name is provided, it will default to the first names of all members separated by commas.
Minors
The recommended way to set up a minor on Practicepicnic is as a group, with the minor as the primary client and each guardian added as their own member of the group. This gives every guardian their own login, their own forms to sign, and lets you pick which one receives billing documents.
Creating a new minor client
- Click New Client from the left sidebar.
- Select Couple or Group at the top.
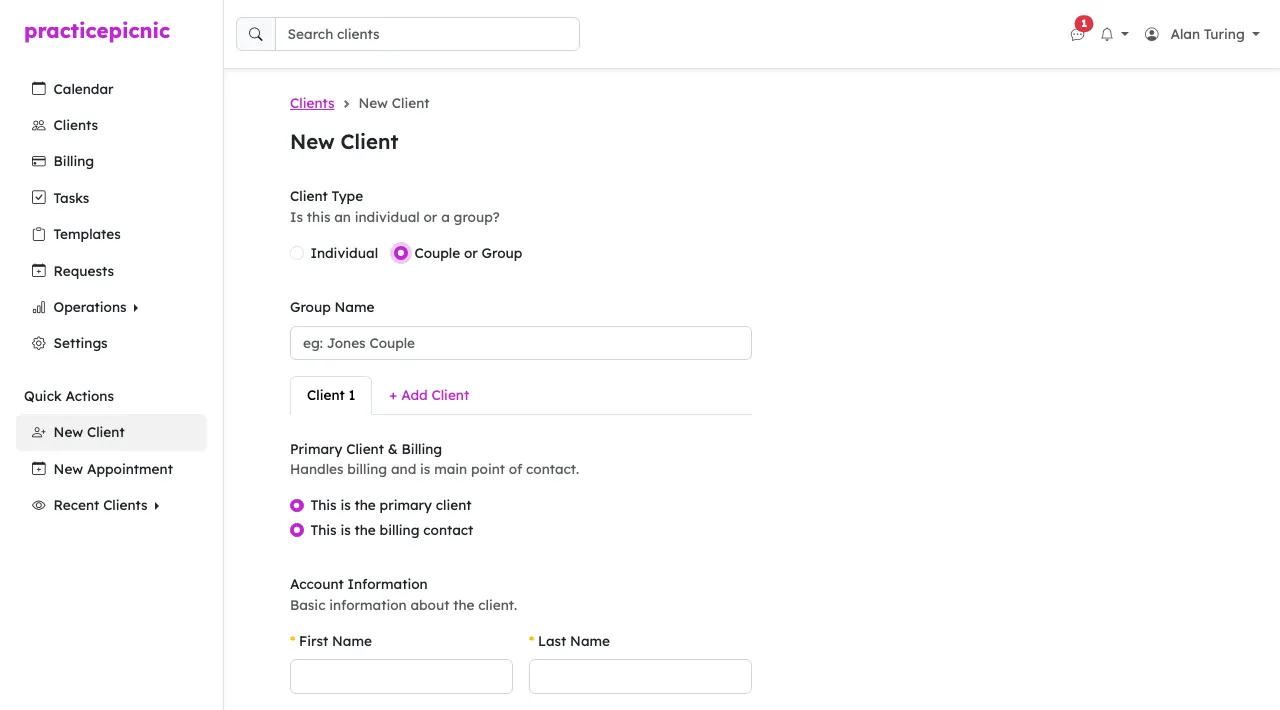
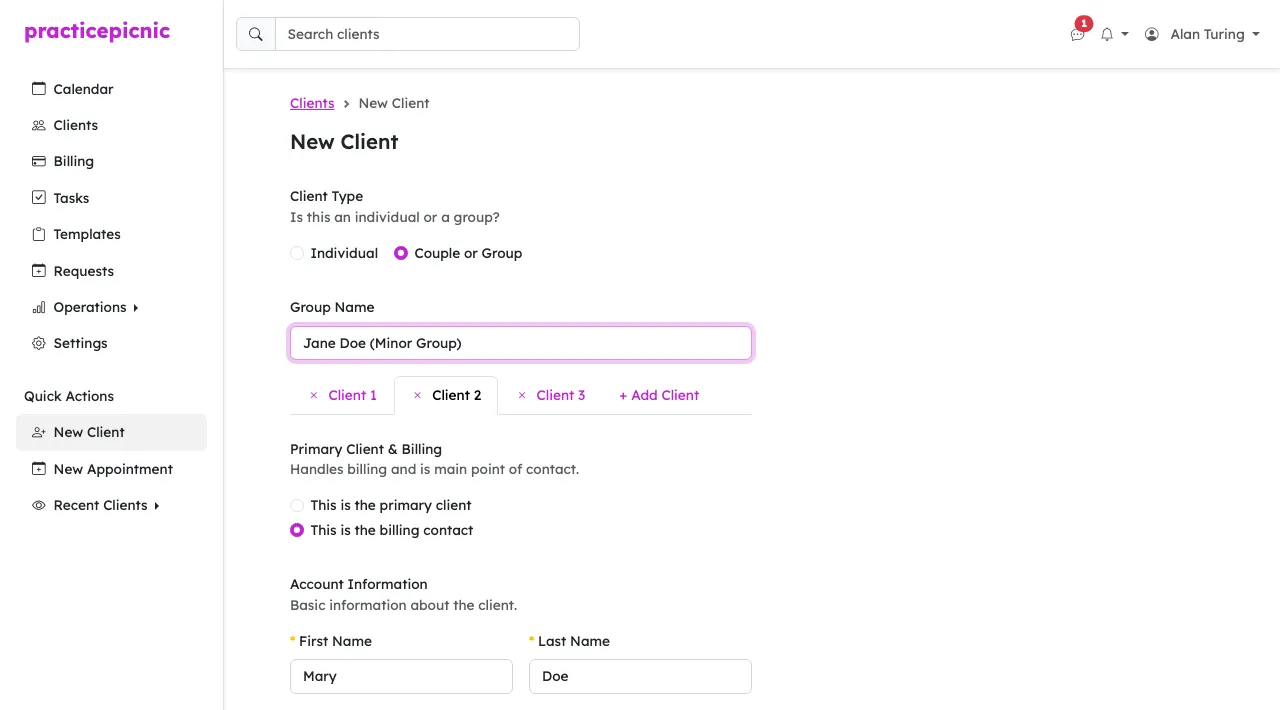
- Click "+ Add Client" once for each guardian you want to give access to. So if you want mom and dad to have access to the child's account, add two new members. Including the child, there will be three members in total.
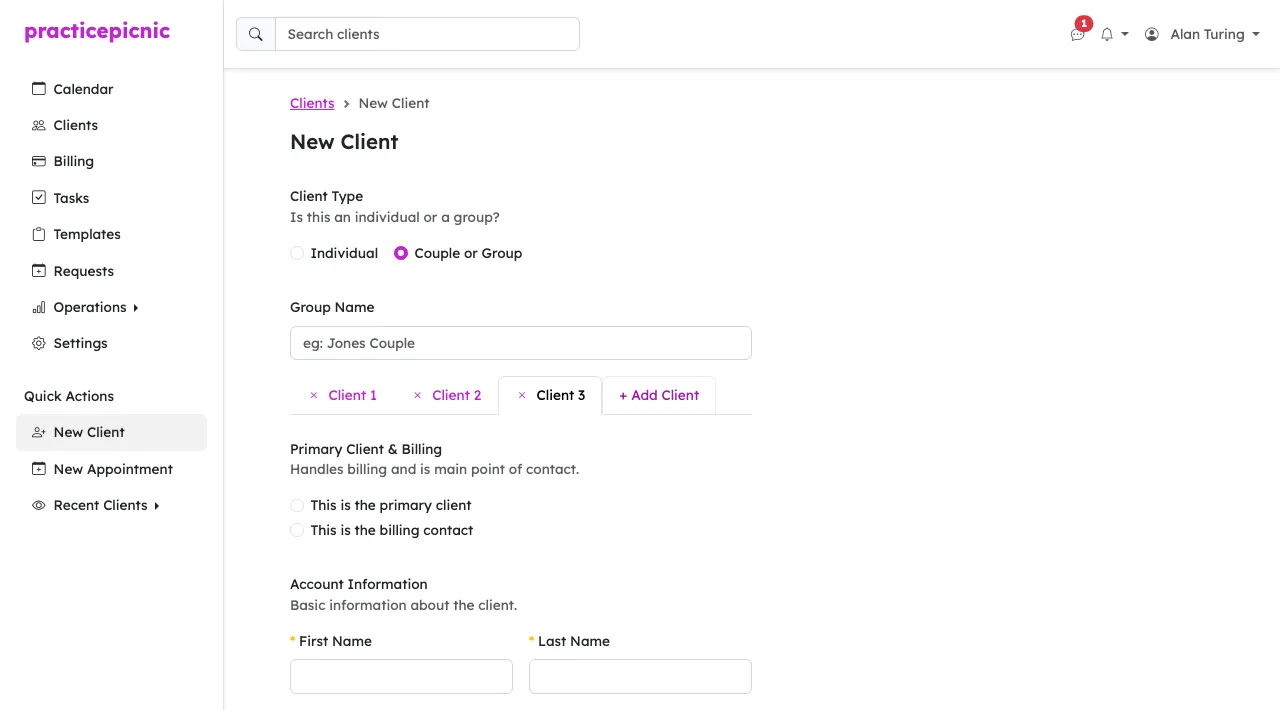
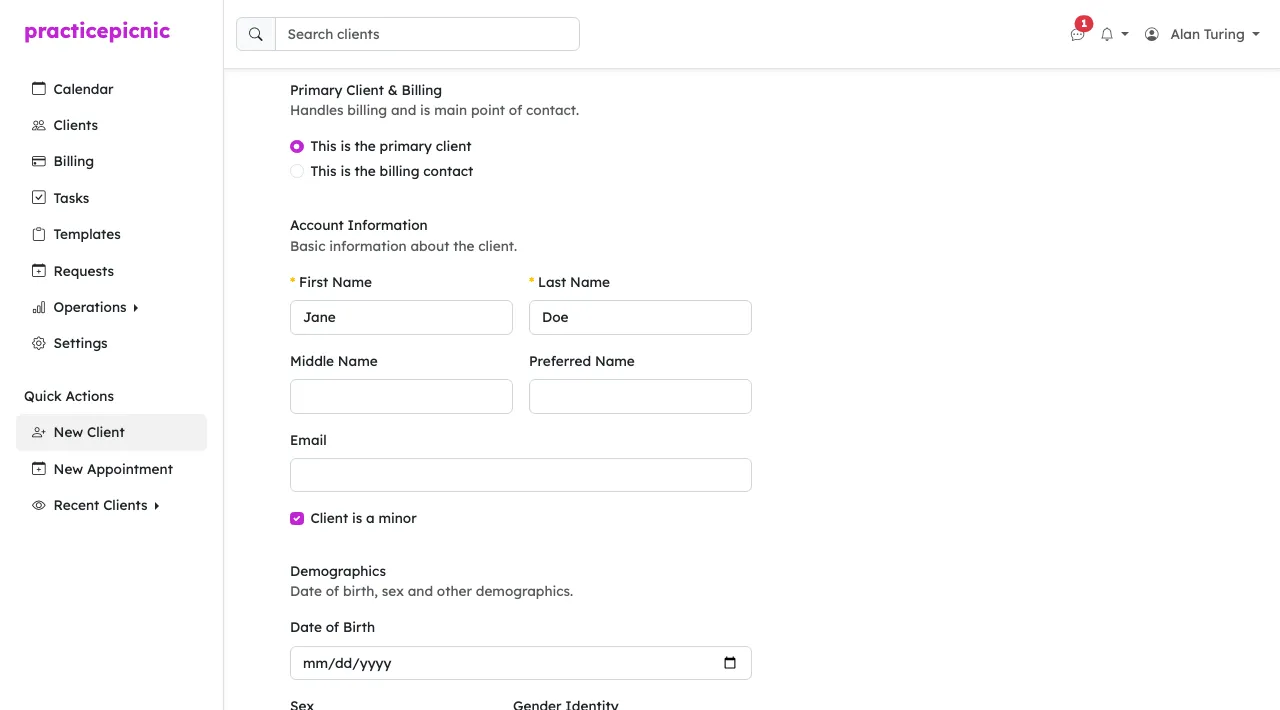
- Fill in the minor's details under Client 1.
- Make sure Client 1 is set as the primary client. This is the name that will show up on superbills.
- Make sure to check the box next to "Client is a minor".
- If the minor has their own email and you want to give them access, enter it under them. Otherwise, leave it blank.
- Fill in the guardians' details under the other clients. So if you added two clients (mom and dad), add mom's details under Client 2 and dad's details under Client 3.
- Specify who is responsible for billing by clicking "This is the billing contact" under them.
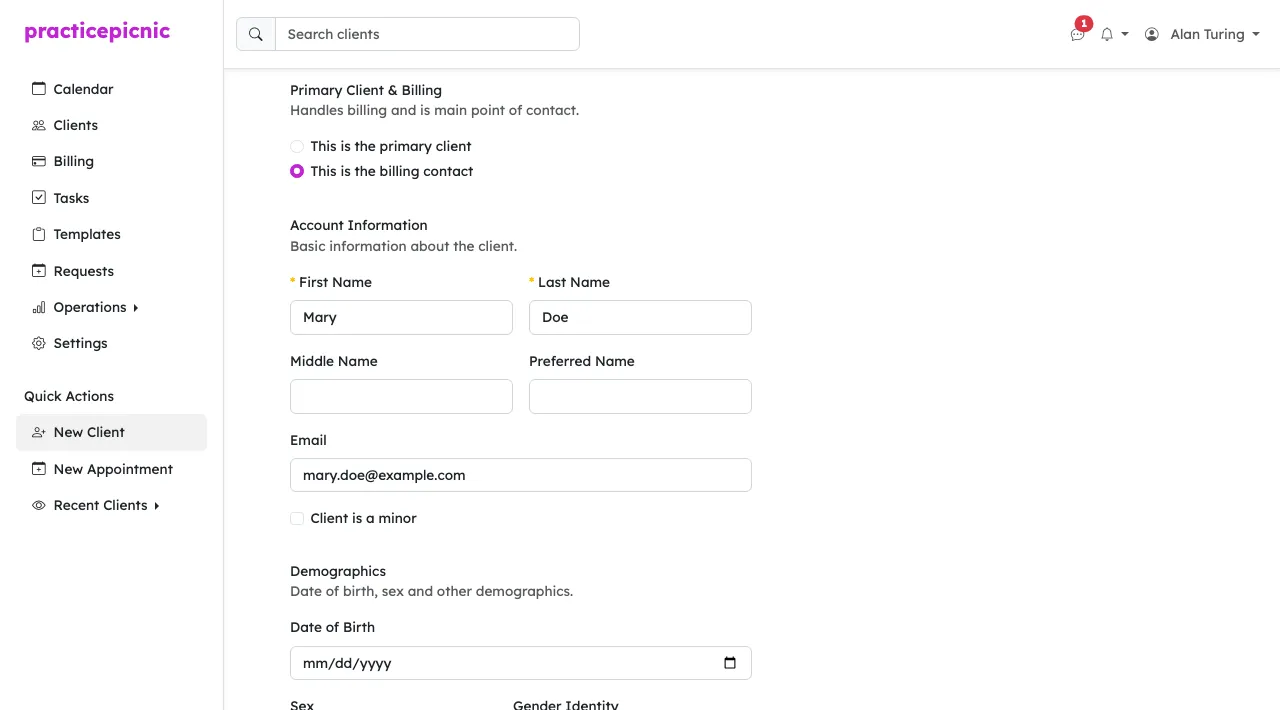
- Finally, before saving, give the group a name at the top. We recommend naming it "{Minor Name} (Minor Group)". So if your minor is named Jane Doe, name the group "Jane Doe (Minor Group)".
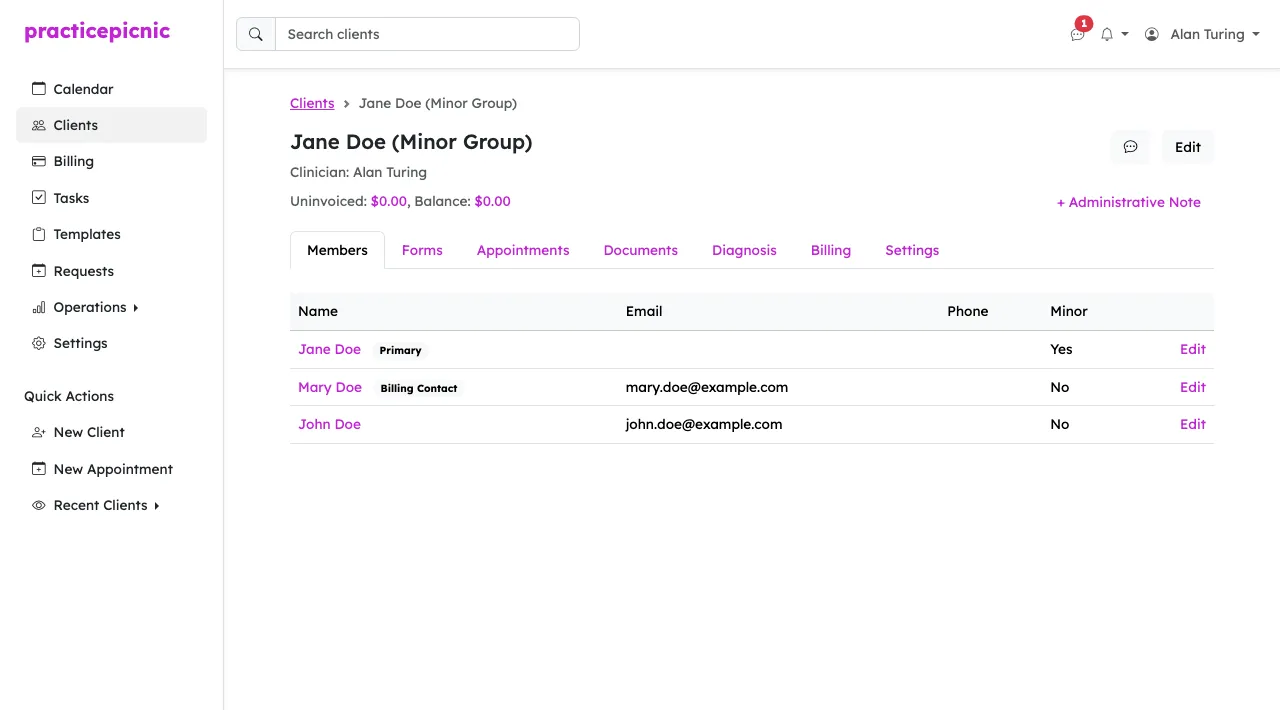
Once saved, you'll see all three members on the group's Members tab, along with who the primary client and billing contact are.
Adding guardians to an existing minor client
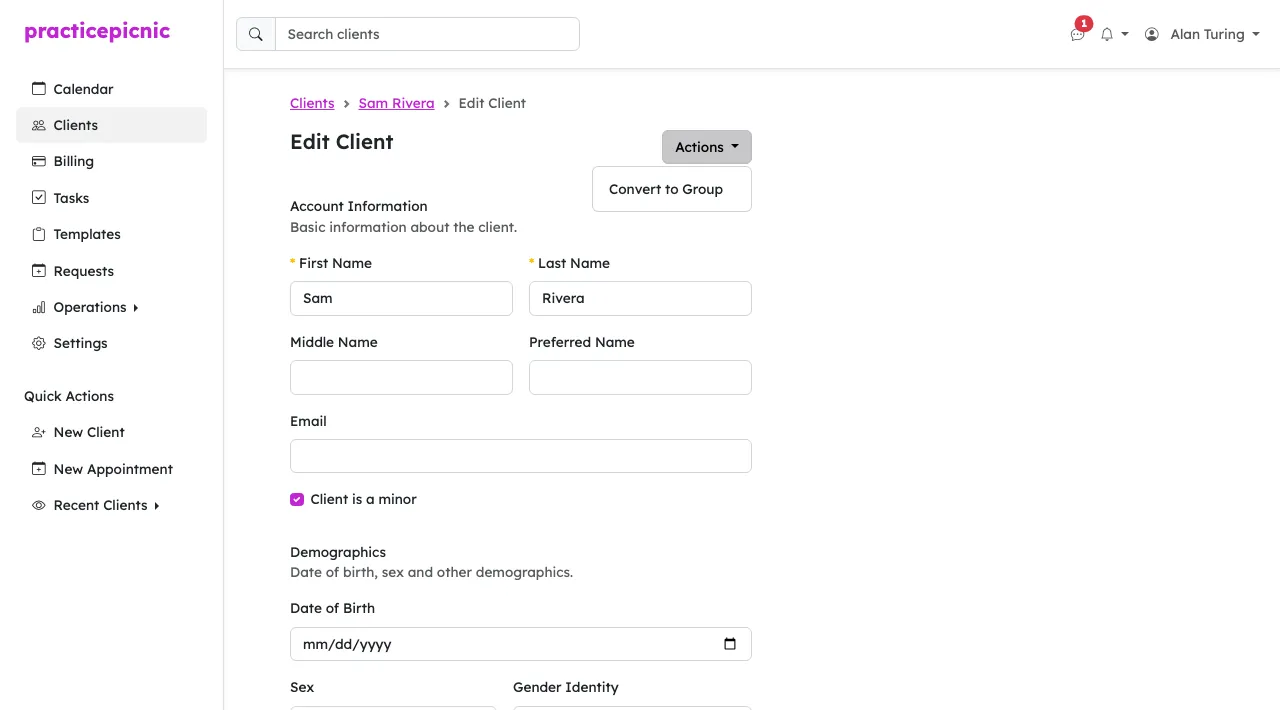
If the minor already exists as an individual client, you can convert them into a group without losing their existing records.
- From the client's page, click Edit.
- Click Actions > Convert to Group.
- Continue from step 3 of Creating a new minor client above.
Sending forms to a minor group
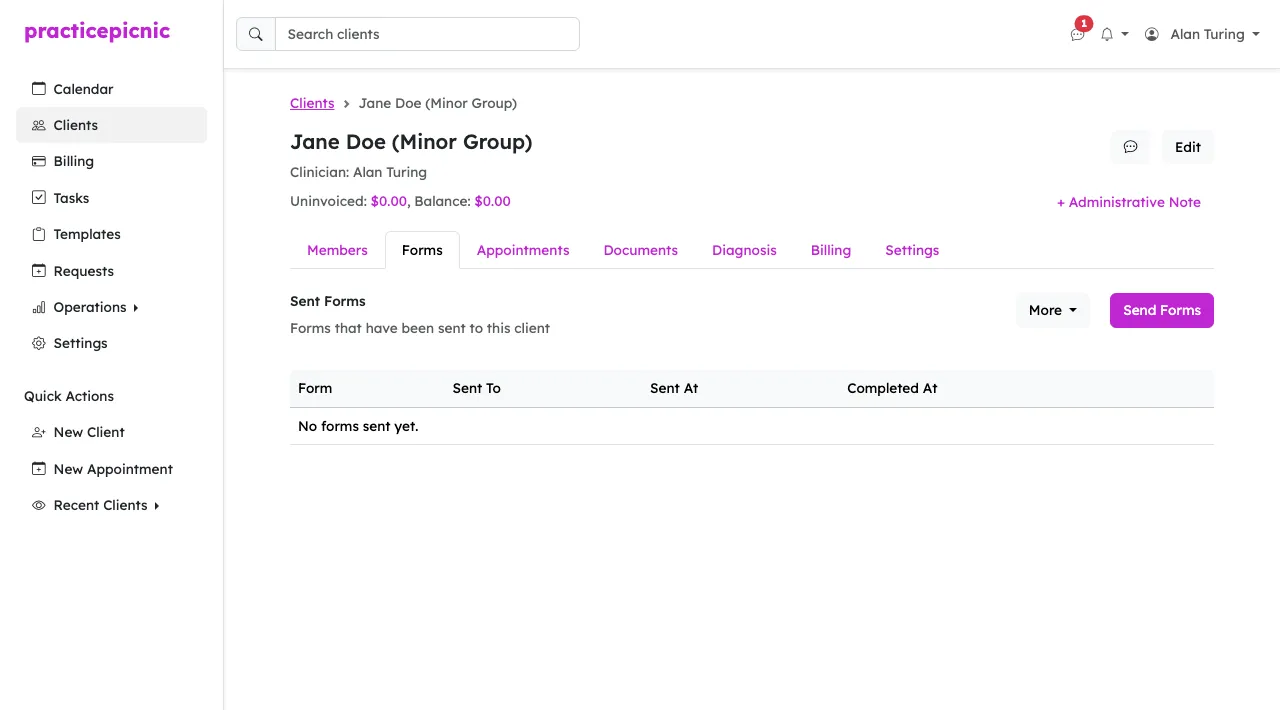
- From the minor group's Forms tab, click Send Forms.
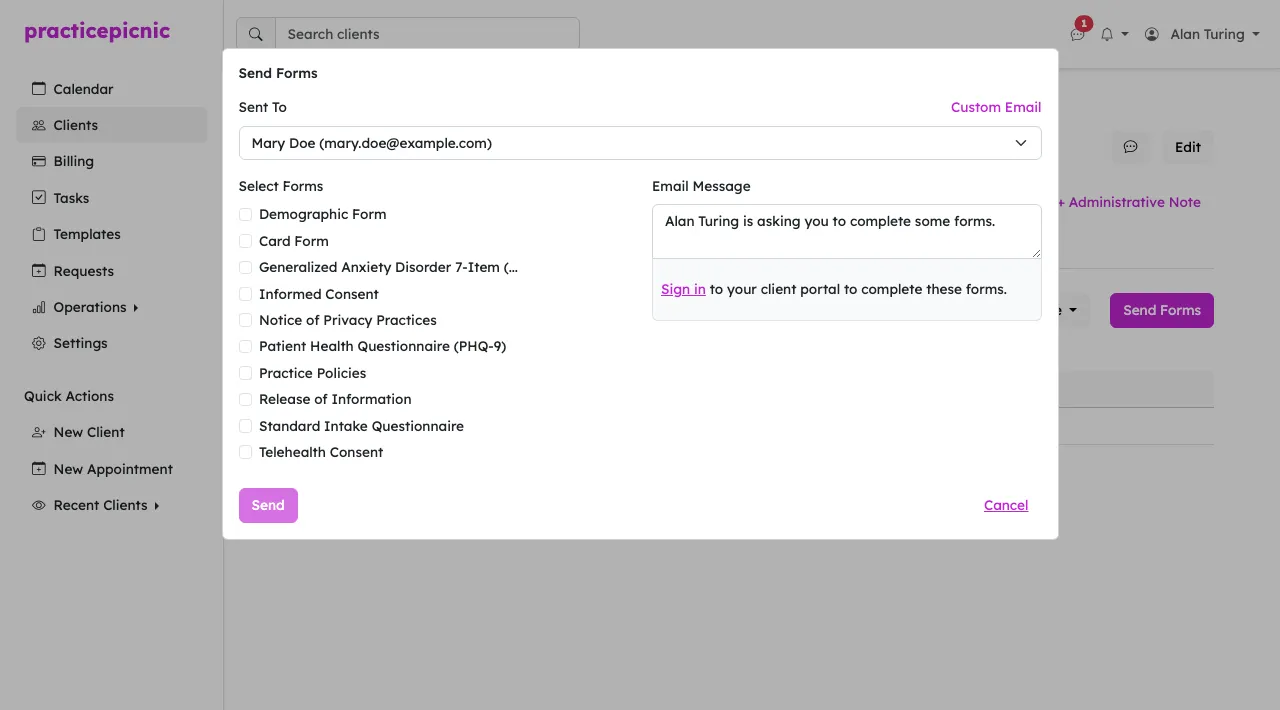
- Select who to send to under Sent To. Forms go out to individual guardians, so a form sent to mom is not visible to dad. If you need consent from both parents, send the form to each of them. If consent from one is enough, just send it to one.
- Select your forms and click Send.
Young adults
For independent young adults who have their own email but have billing handled by their guardian, use this set up.
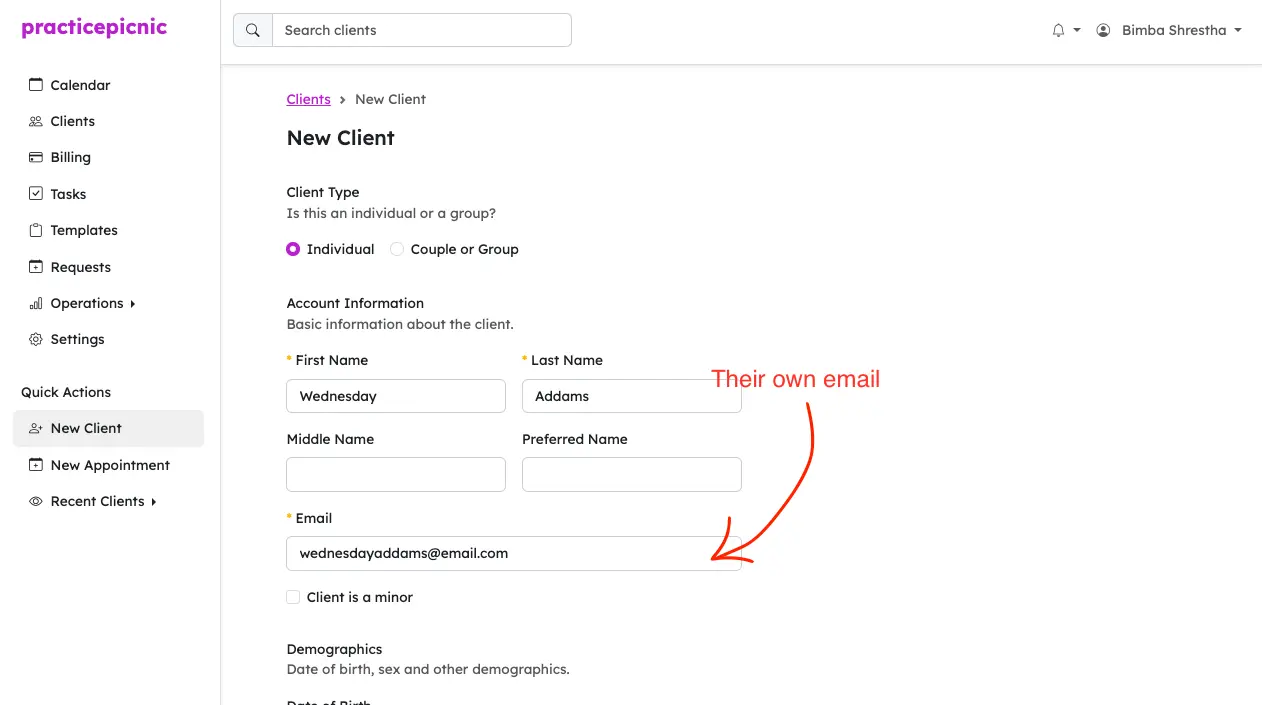
From the New Client page, select Individual, fill in the individual's name and in the email field, enter their own email address. Then click Save.
Once the client is created, navigate to their Details tab.
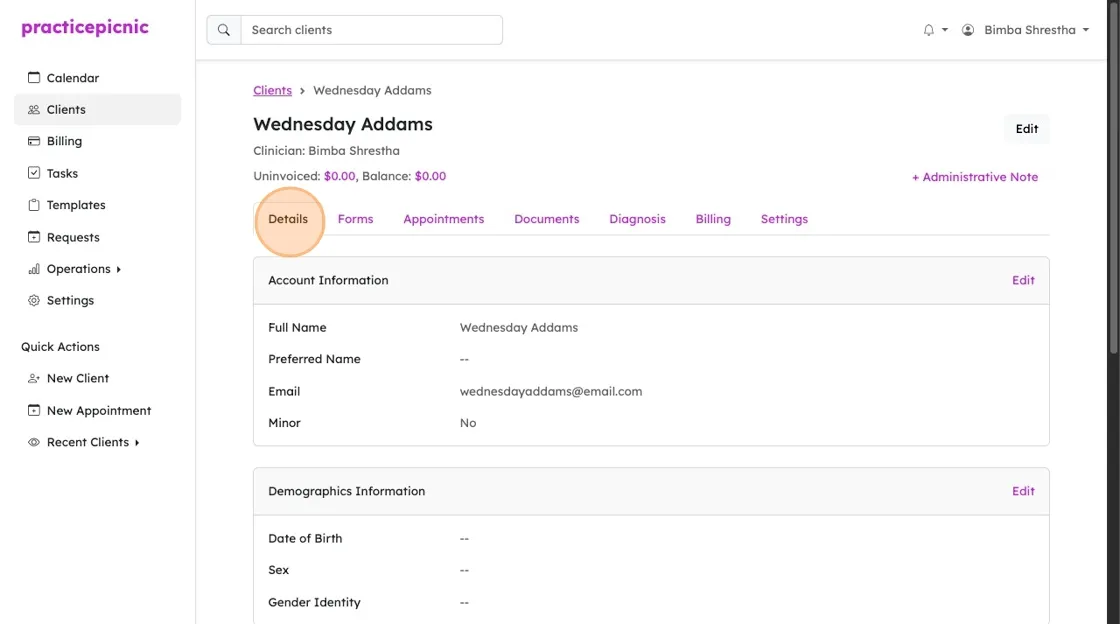
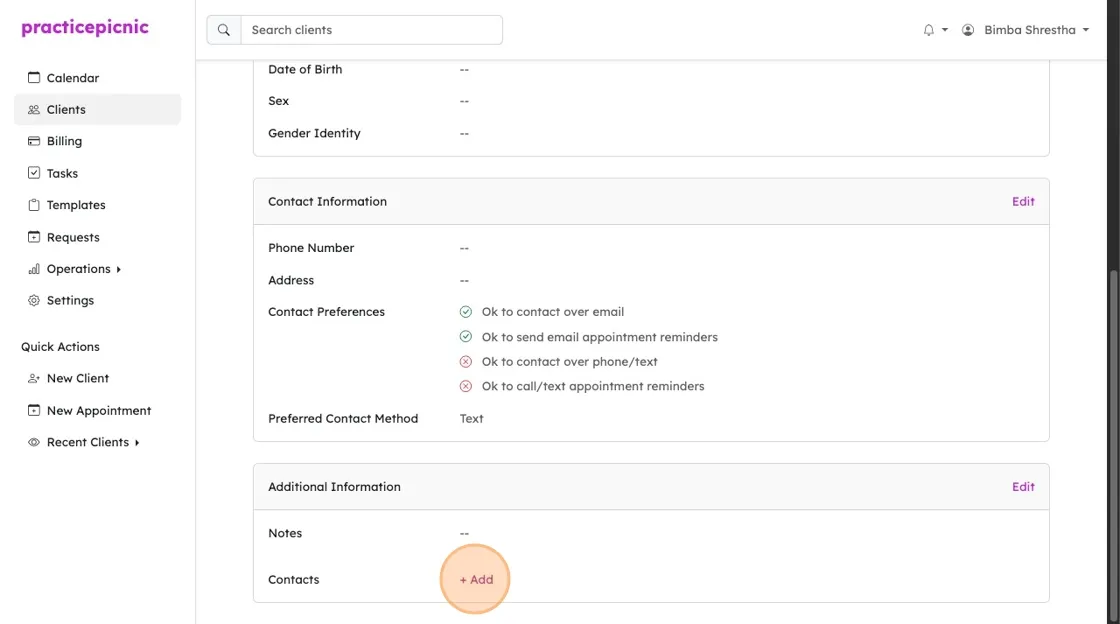
From the bottom, under Contacts, click "+ Add"
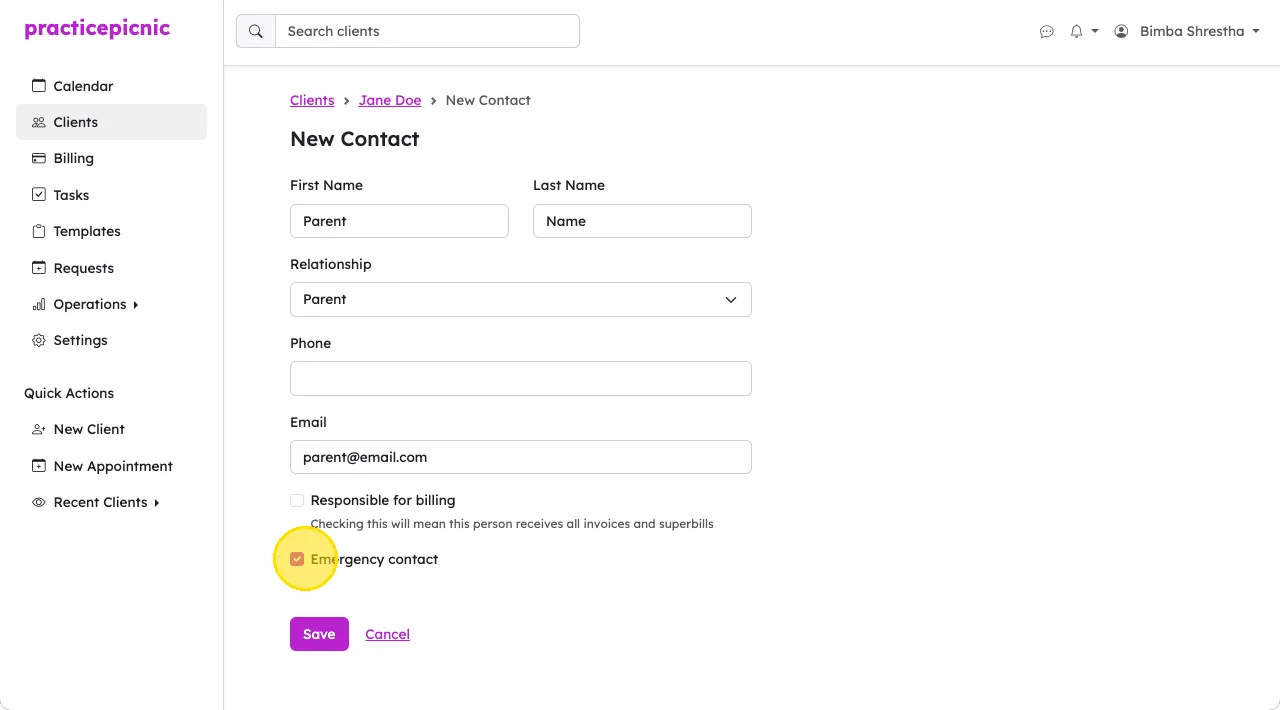
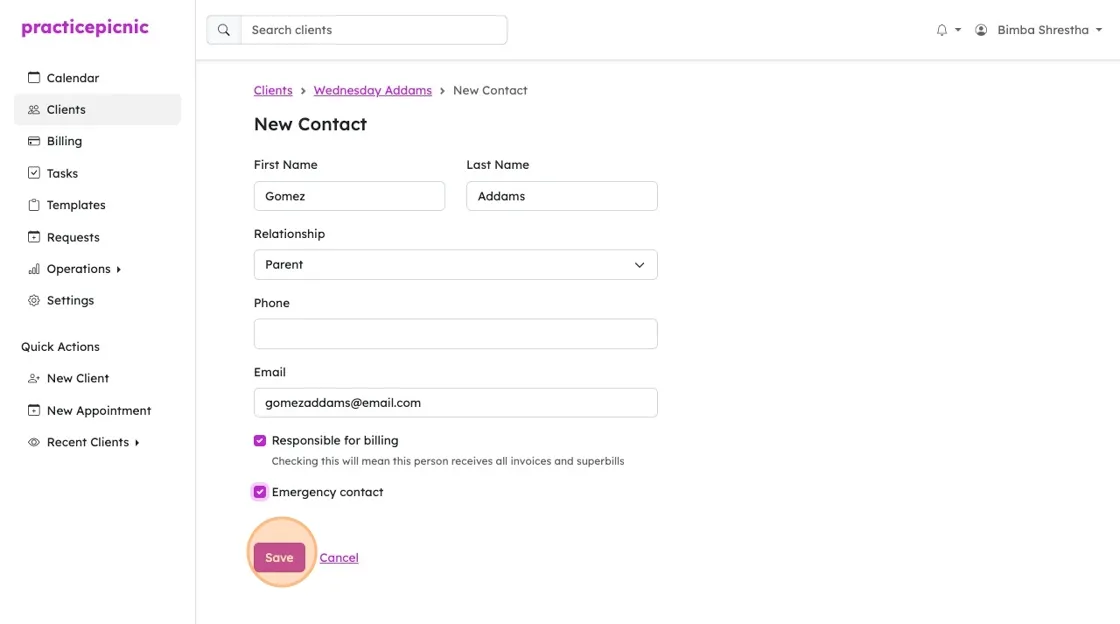
Fill in the details of the guardian (including their email). Make sure to check Responsible for billing if the guardian should receive all billing related documents. Click "Save" once you're done.
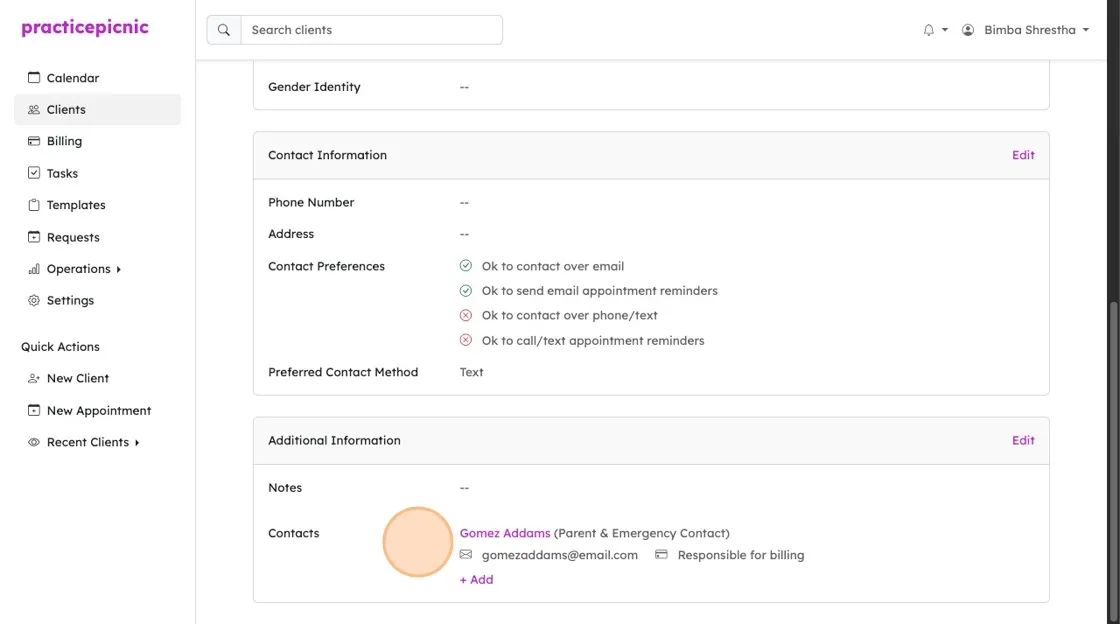
The guardian has now been assigned as the billing contact for this profile. They will receive automated invoices and superbills. Only the young adult will have access to their client portal.
Client contacts and emergency contacts
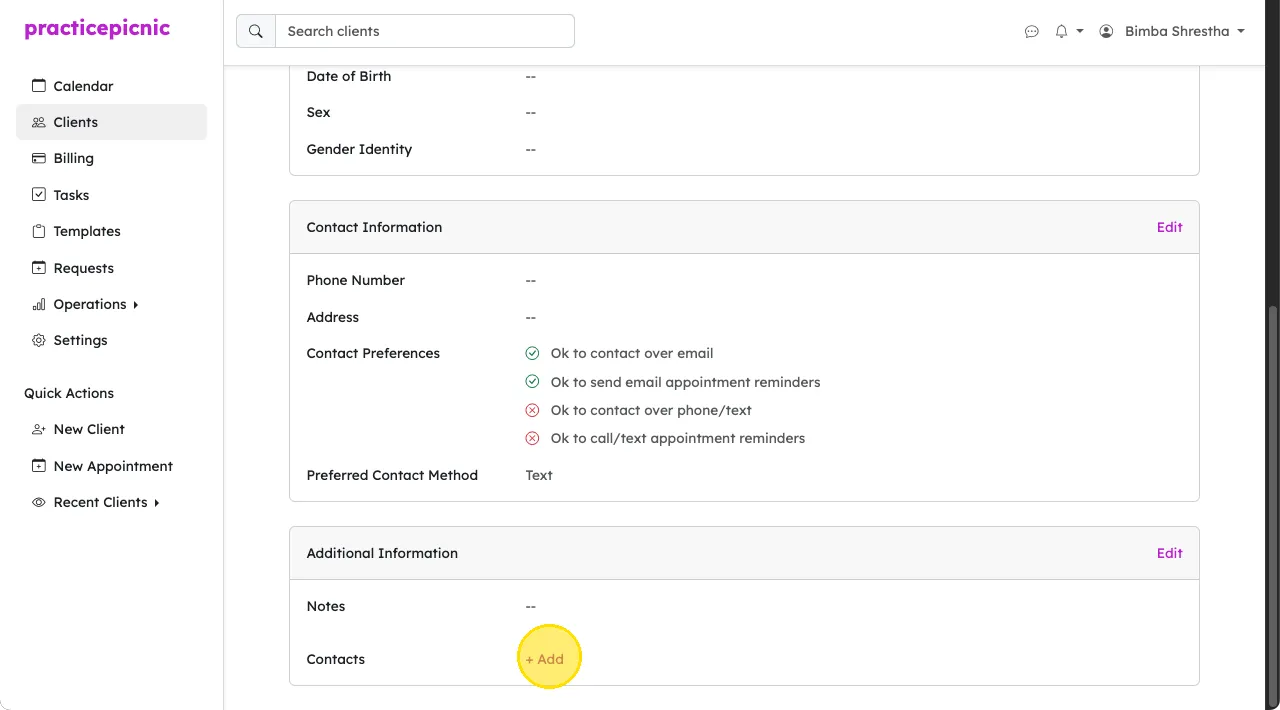
A contact is a person in the client's life who is linked to them (eg: a friend, partner, child, etc). To add a new client contact, click the Add button next to Contacts from the bottom of the client's page.
Check the box next to emergency contact to mark this contact as their emergency contact.